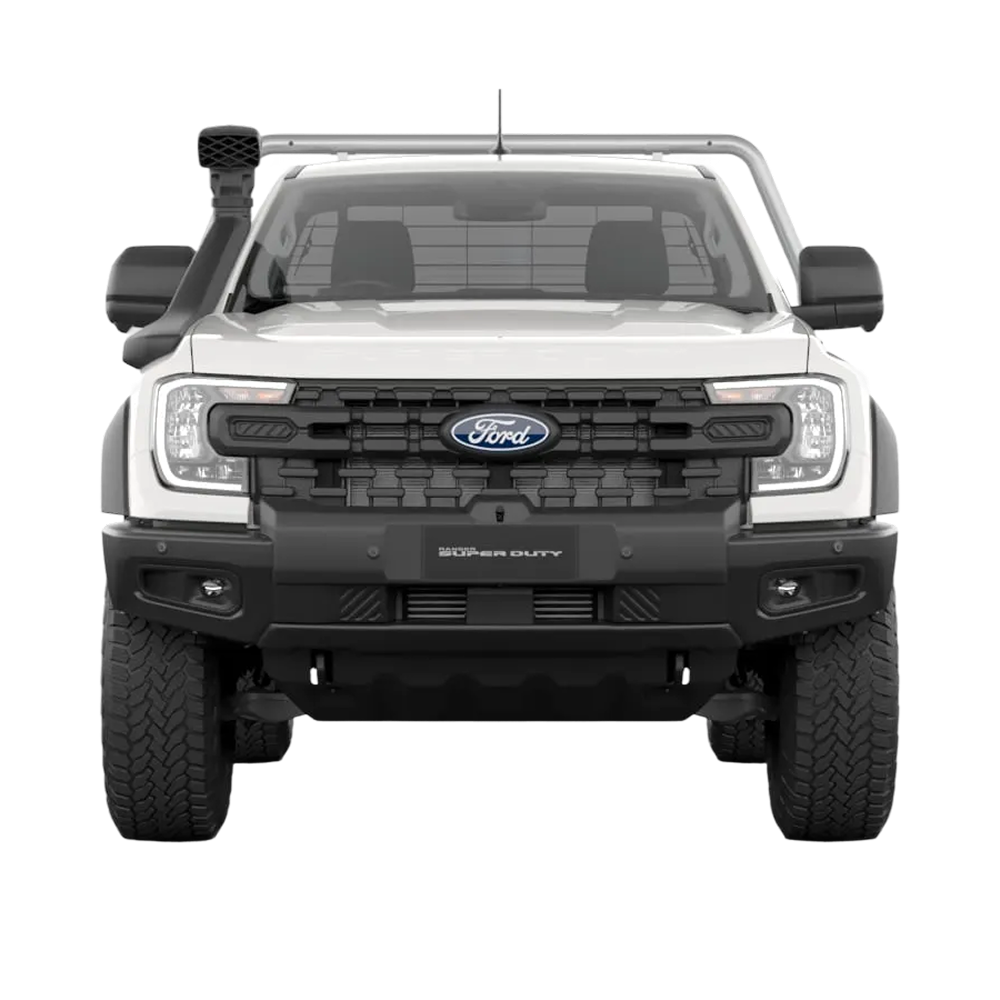
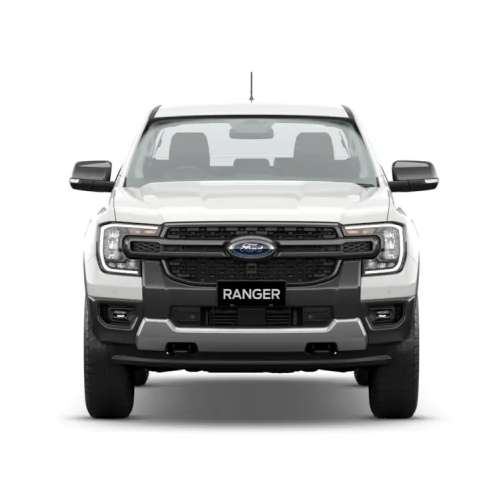
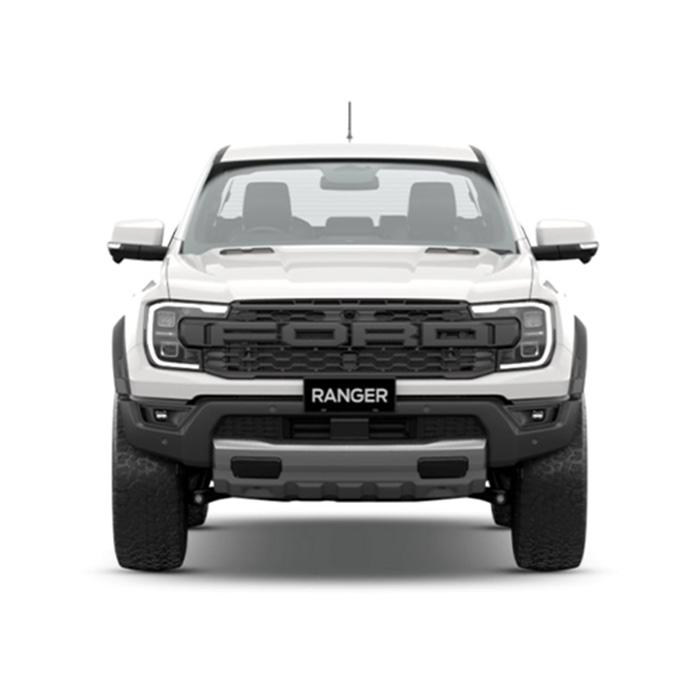
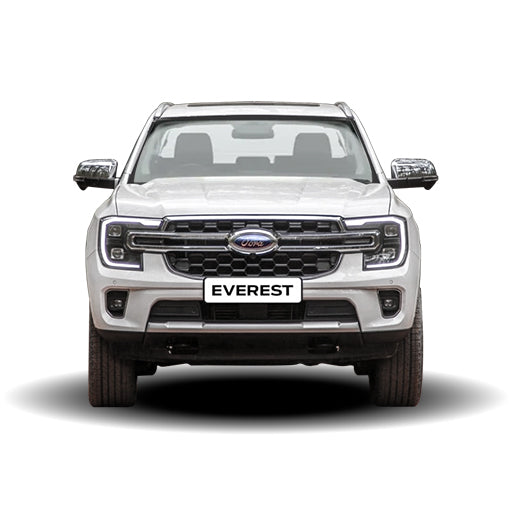
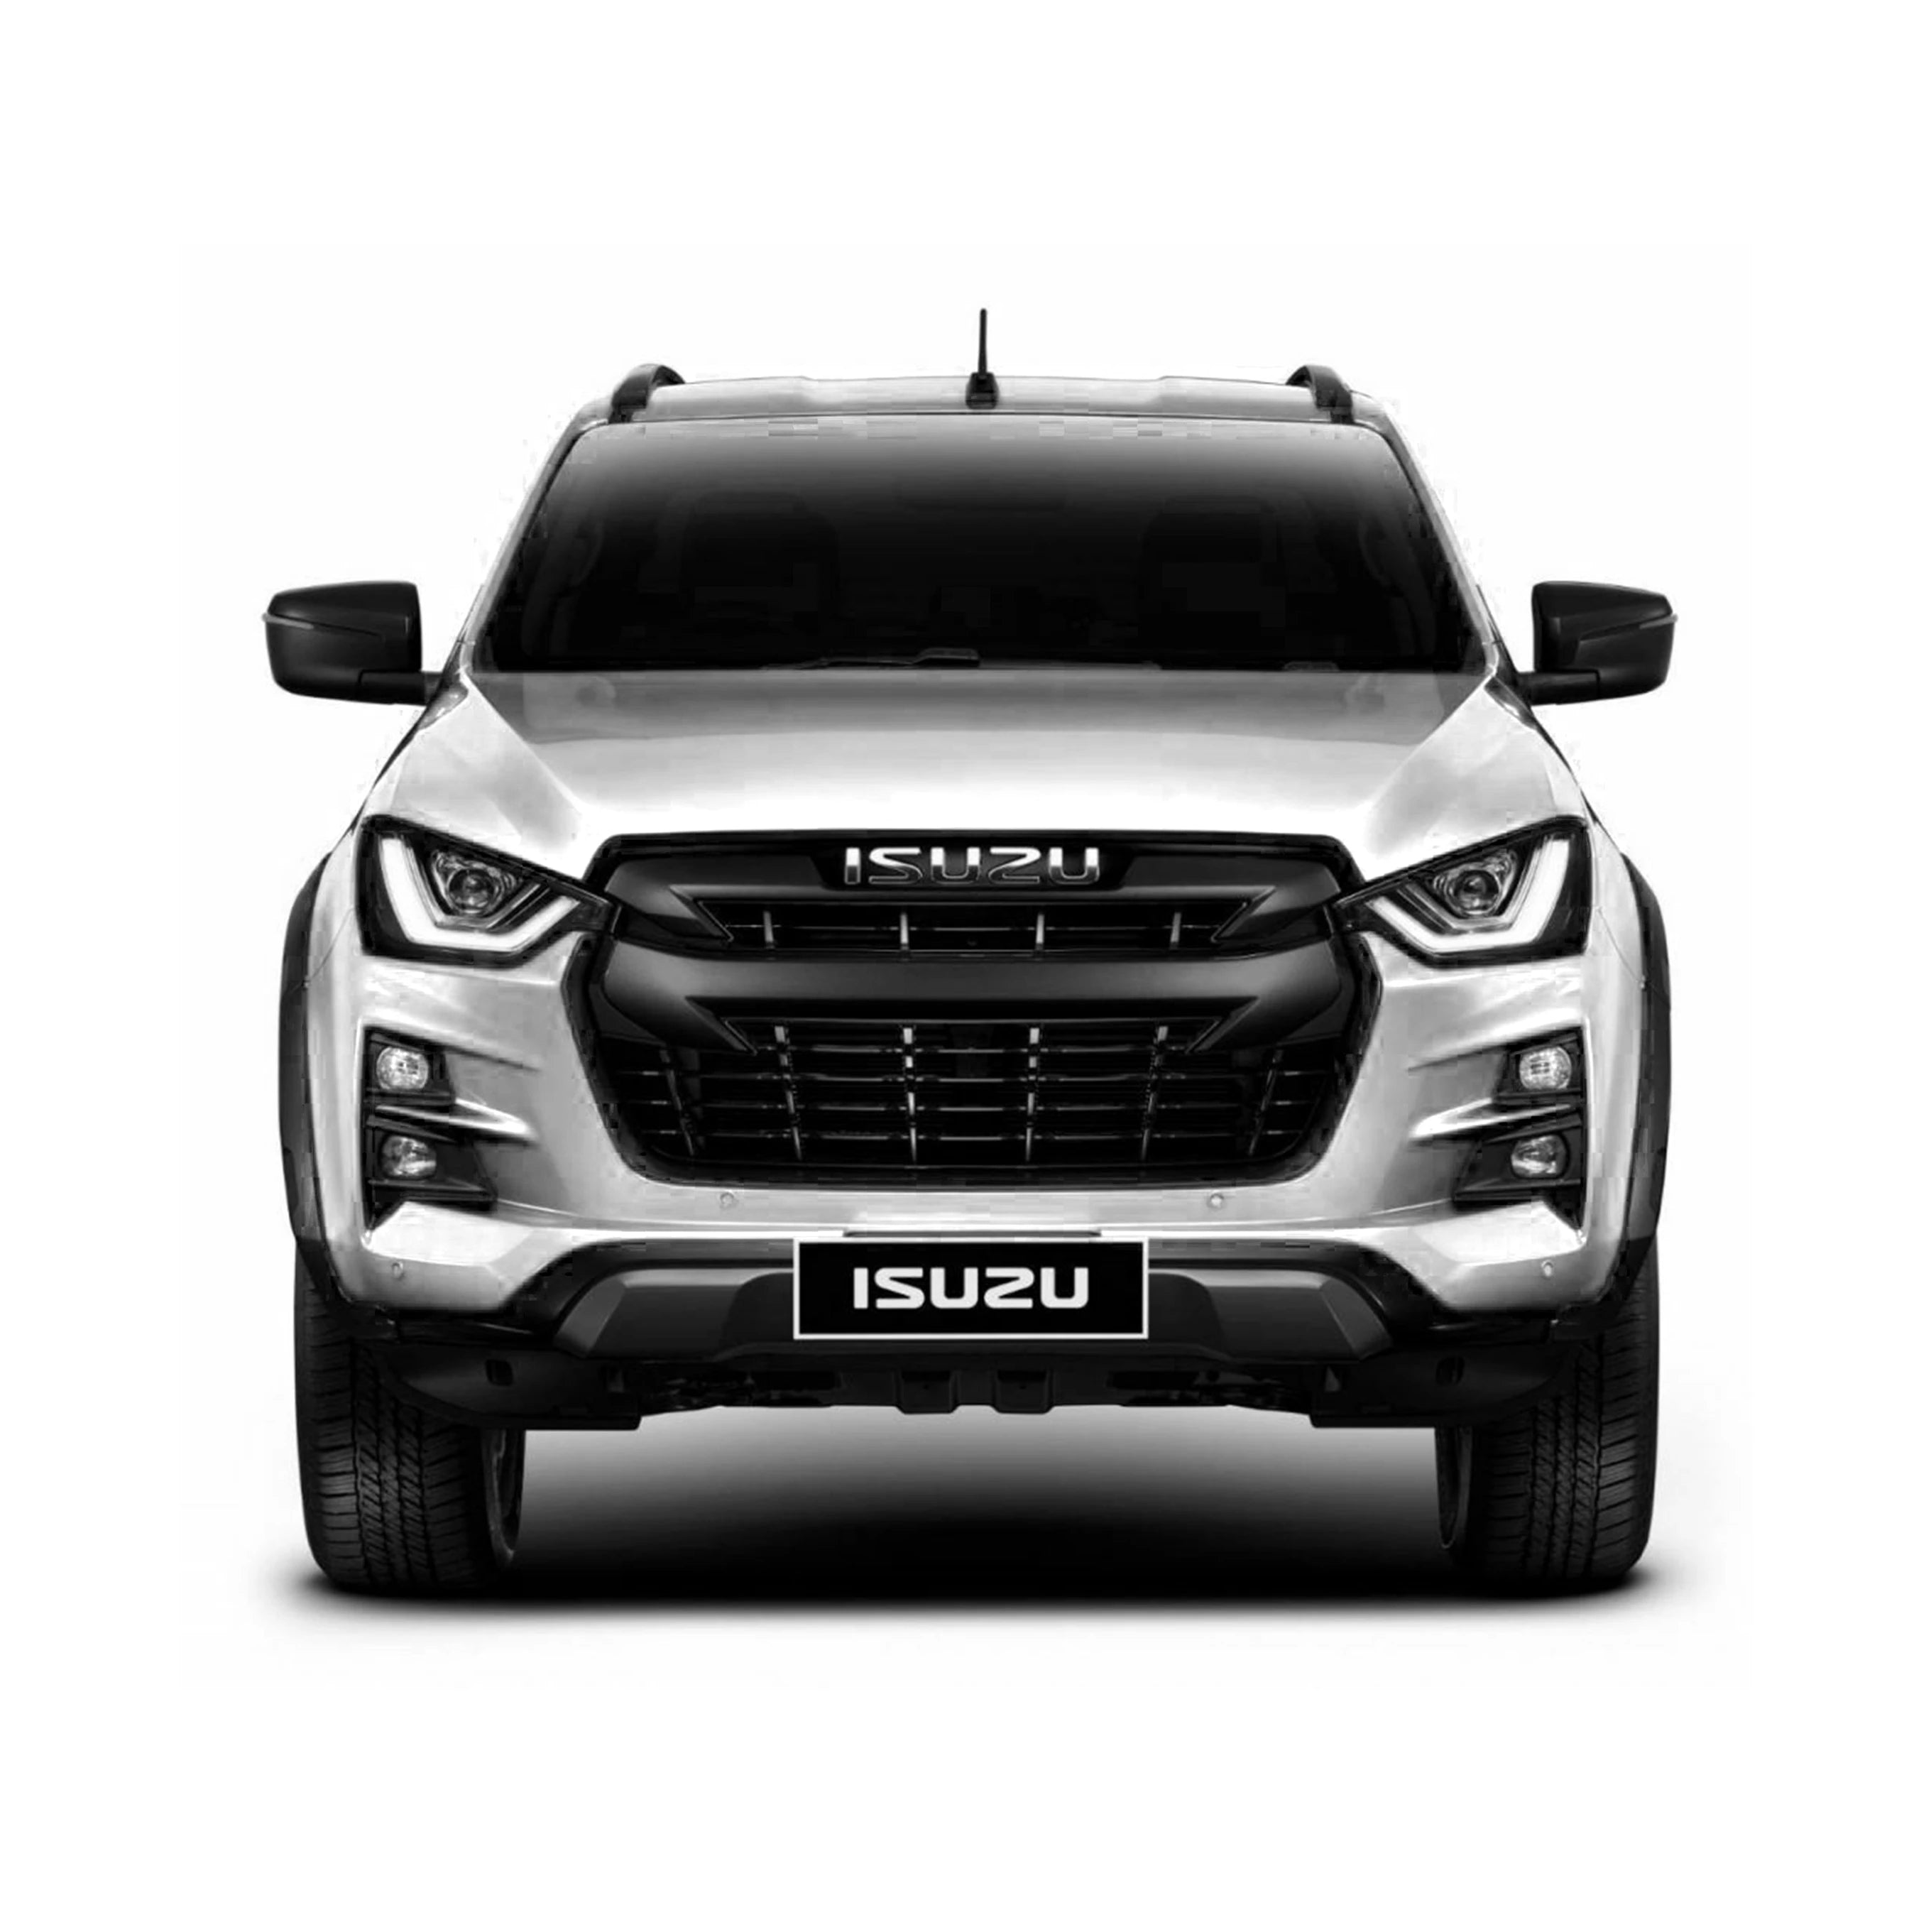
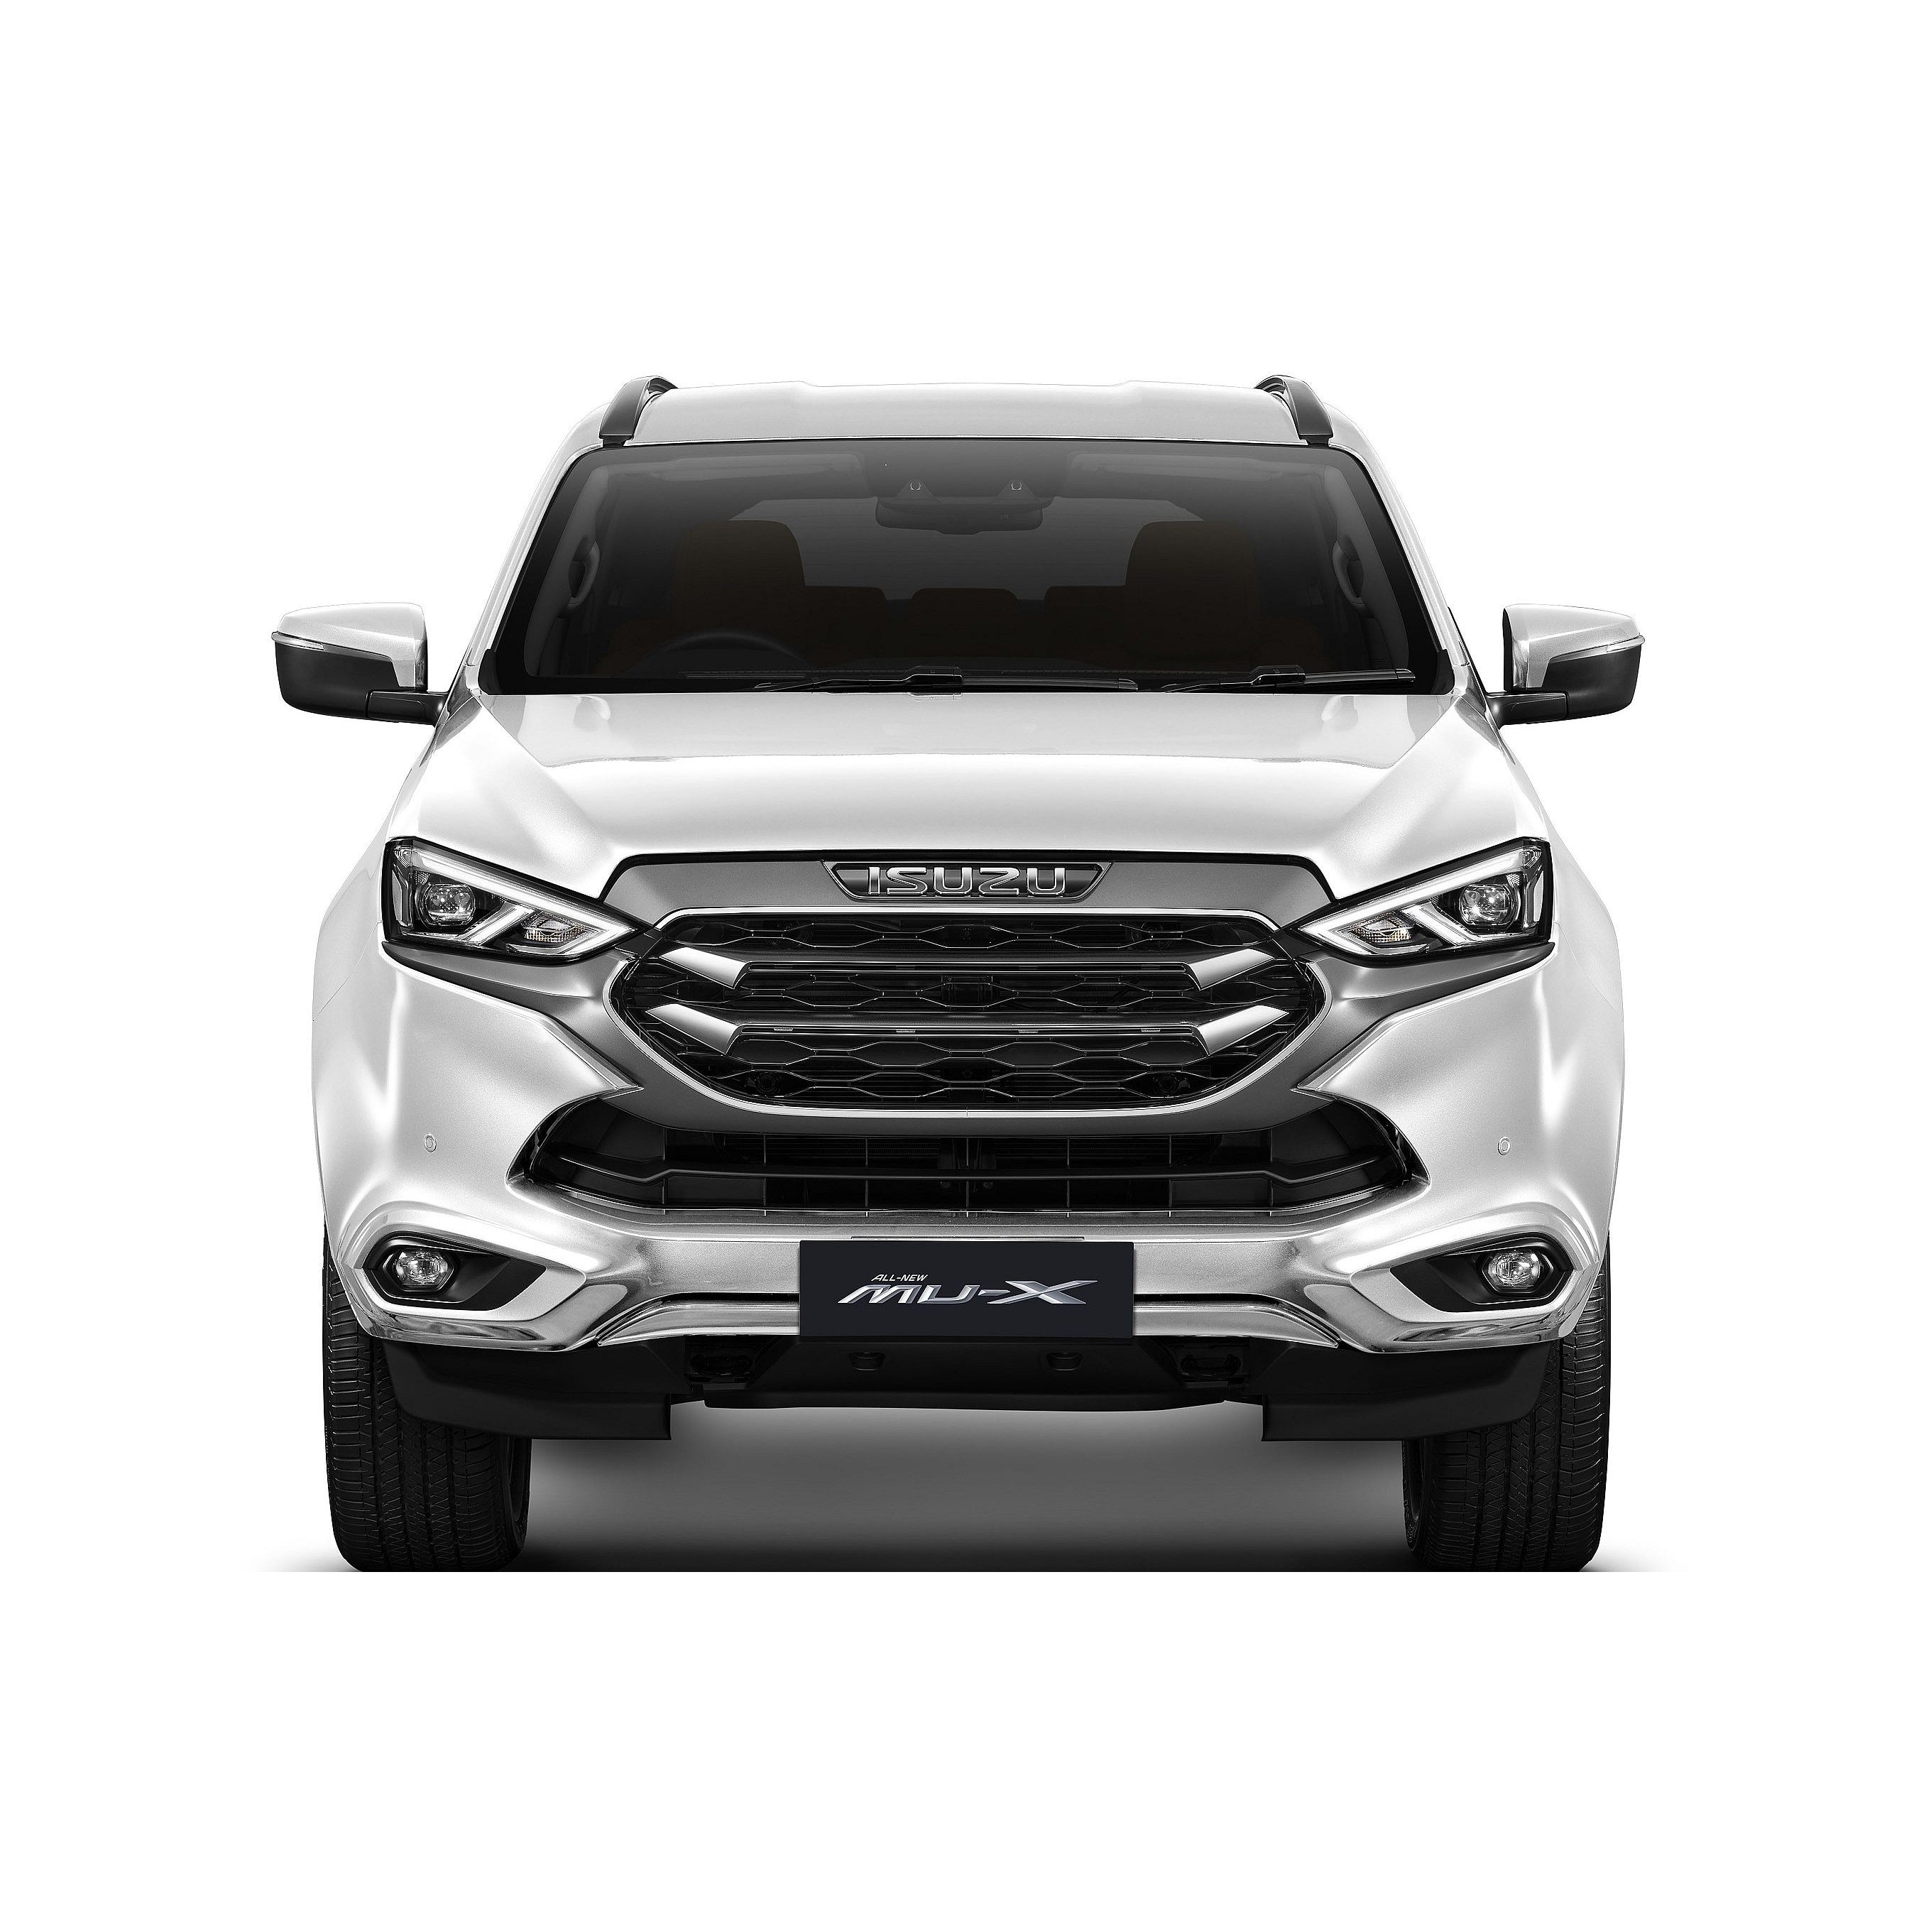
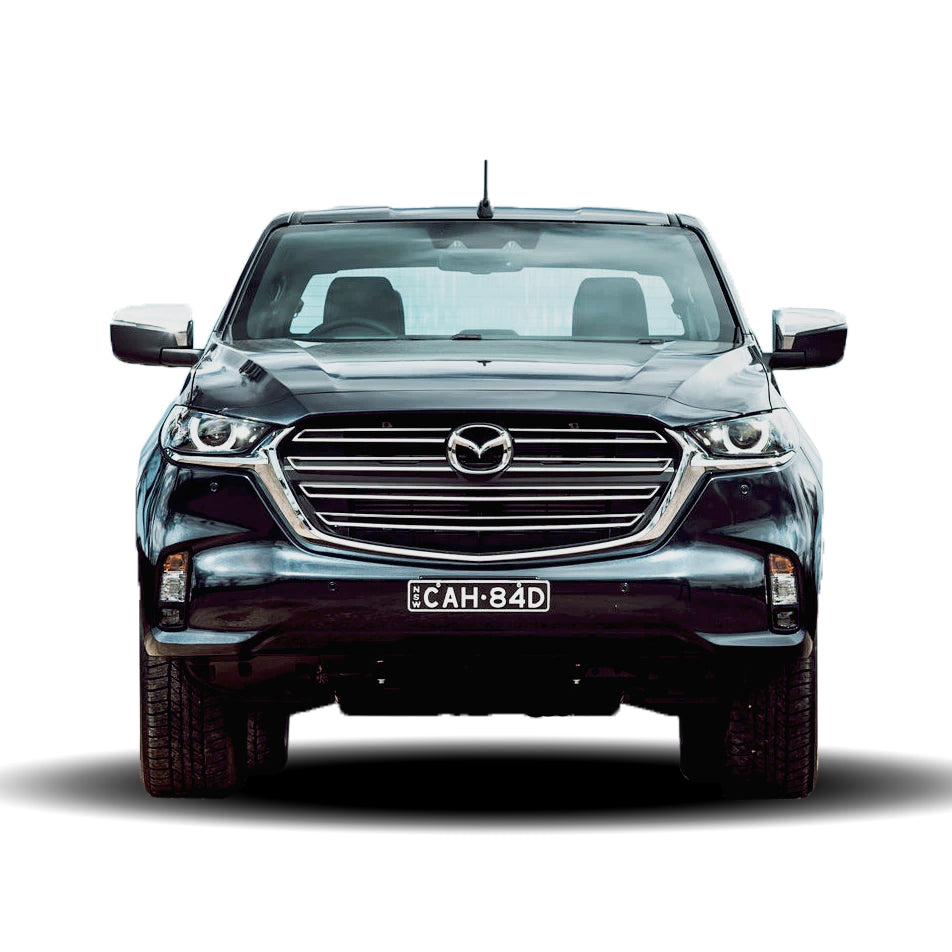
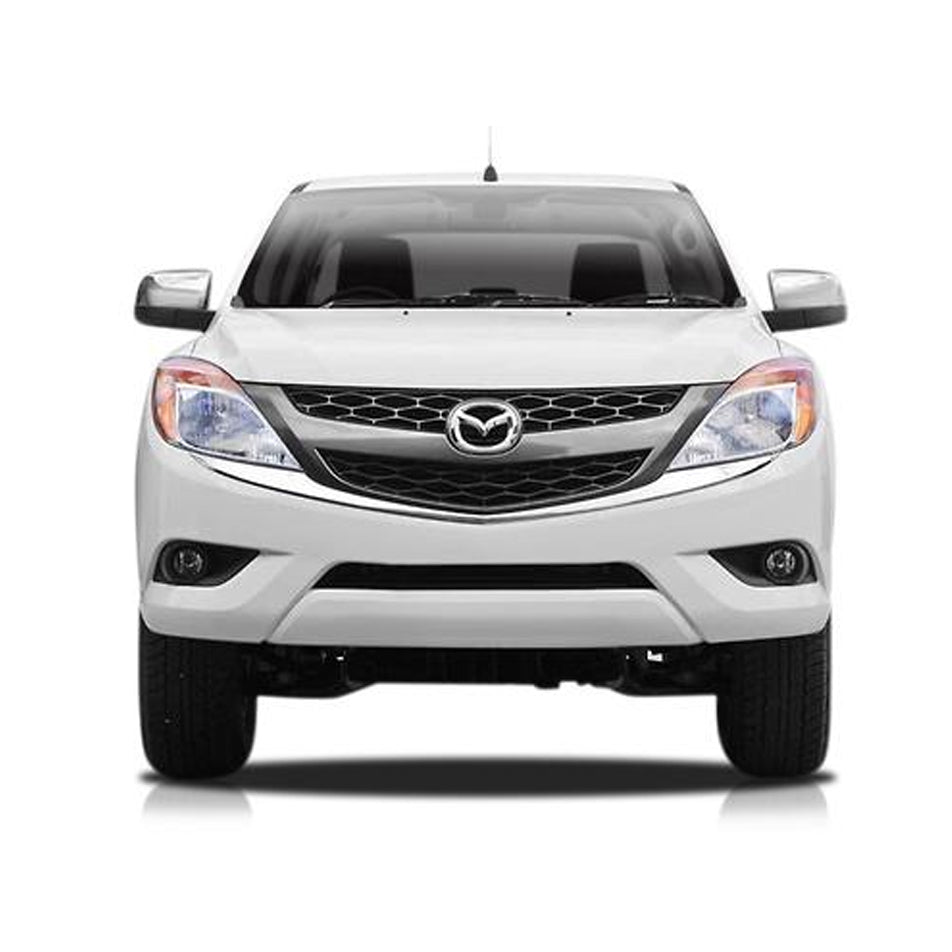
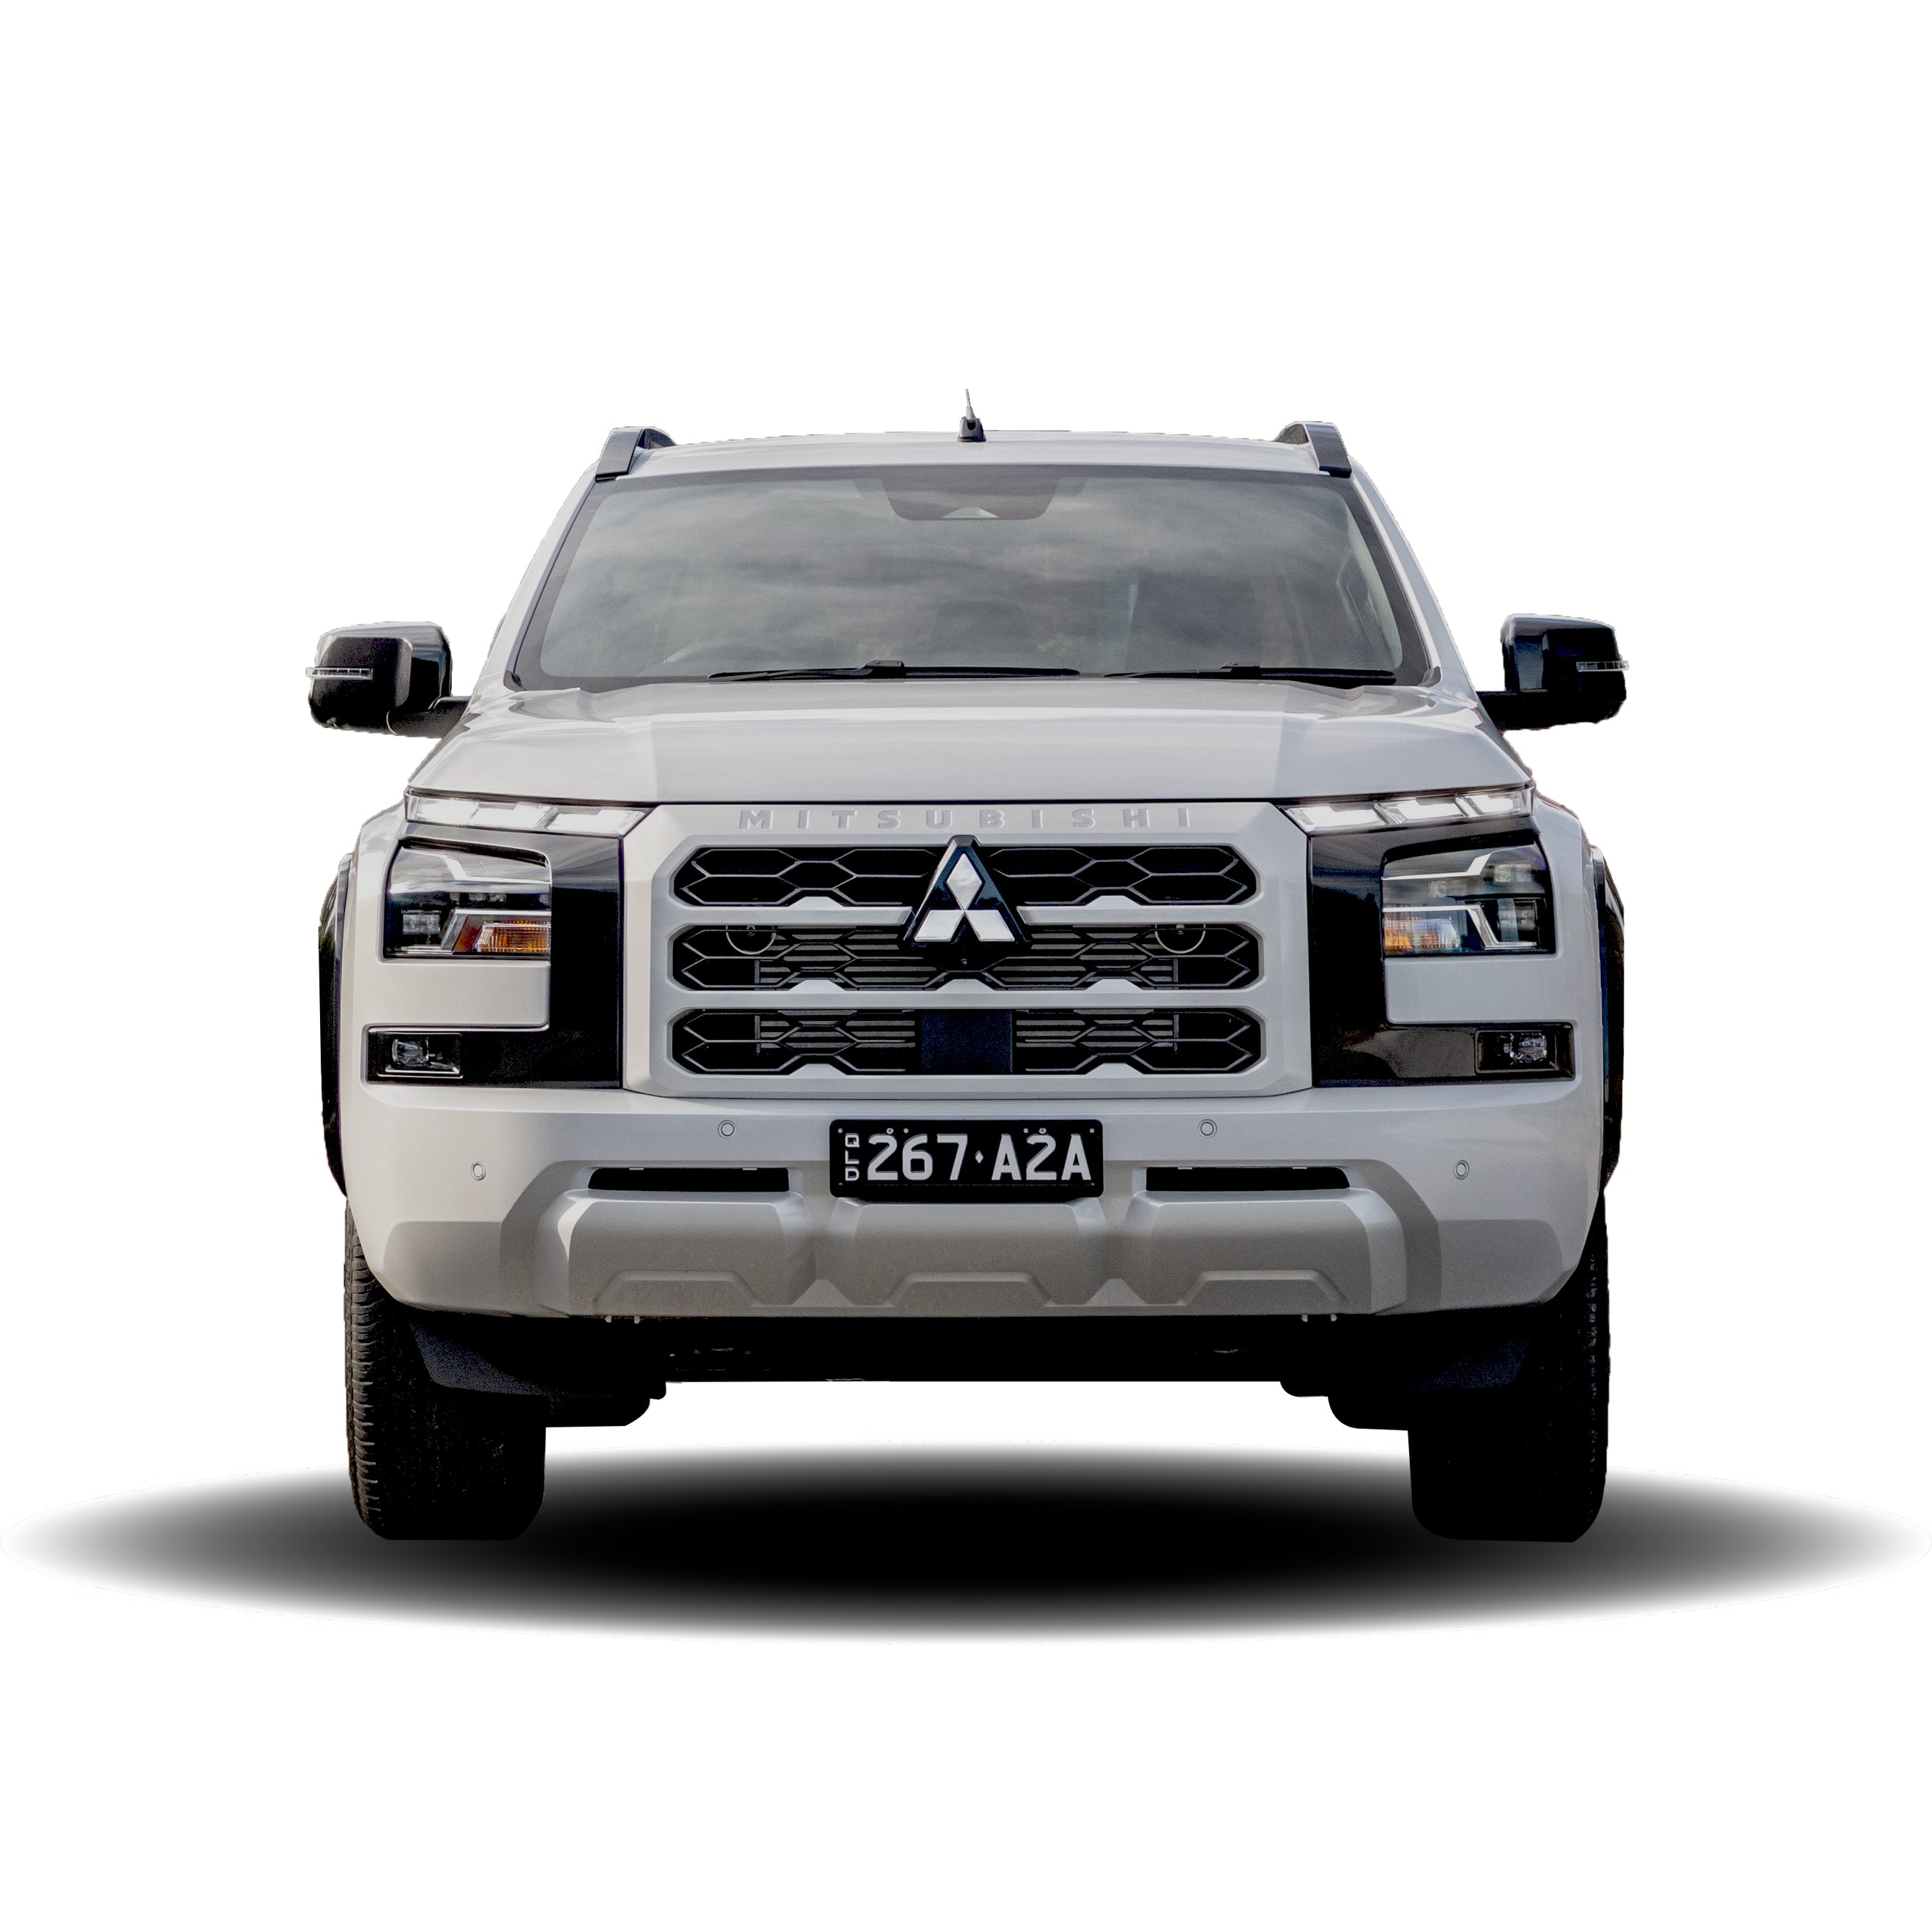
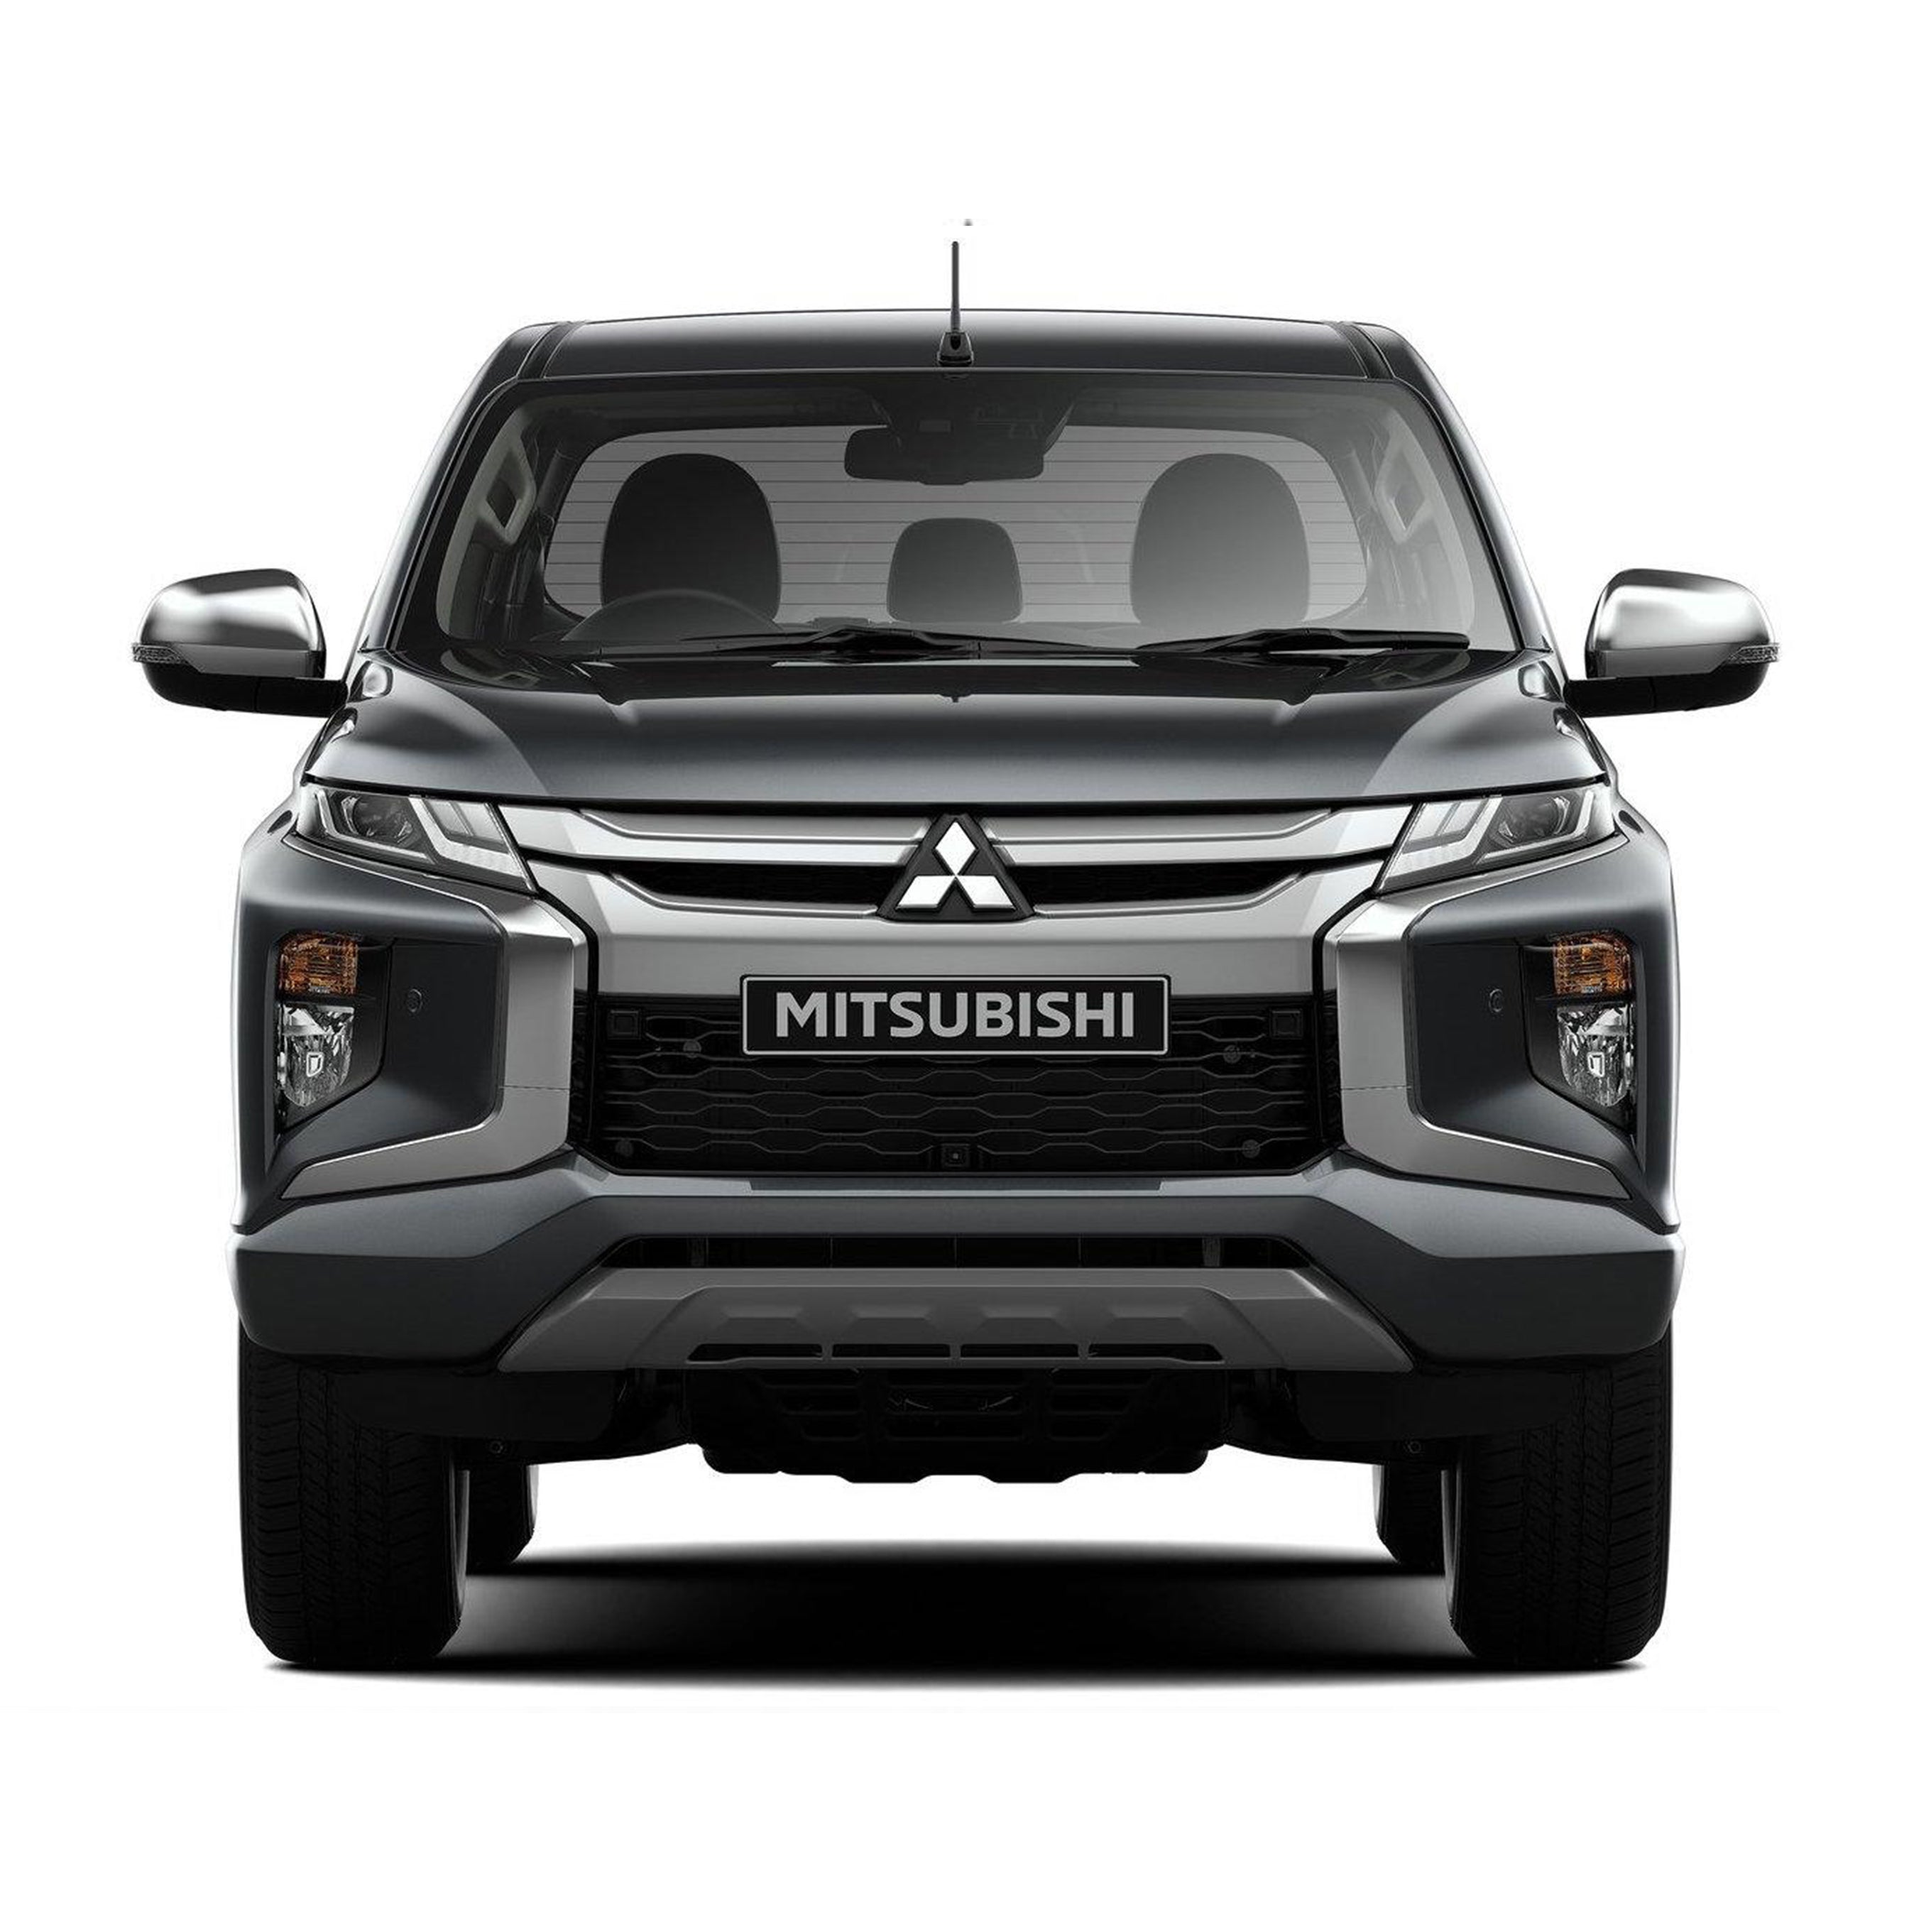
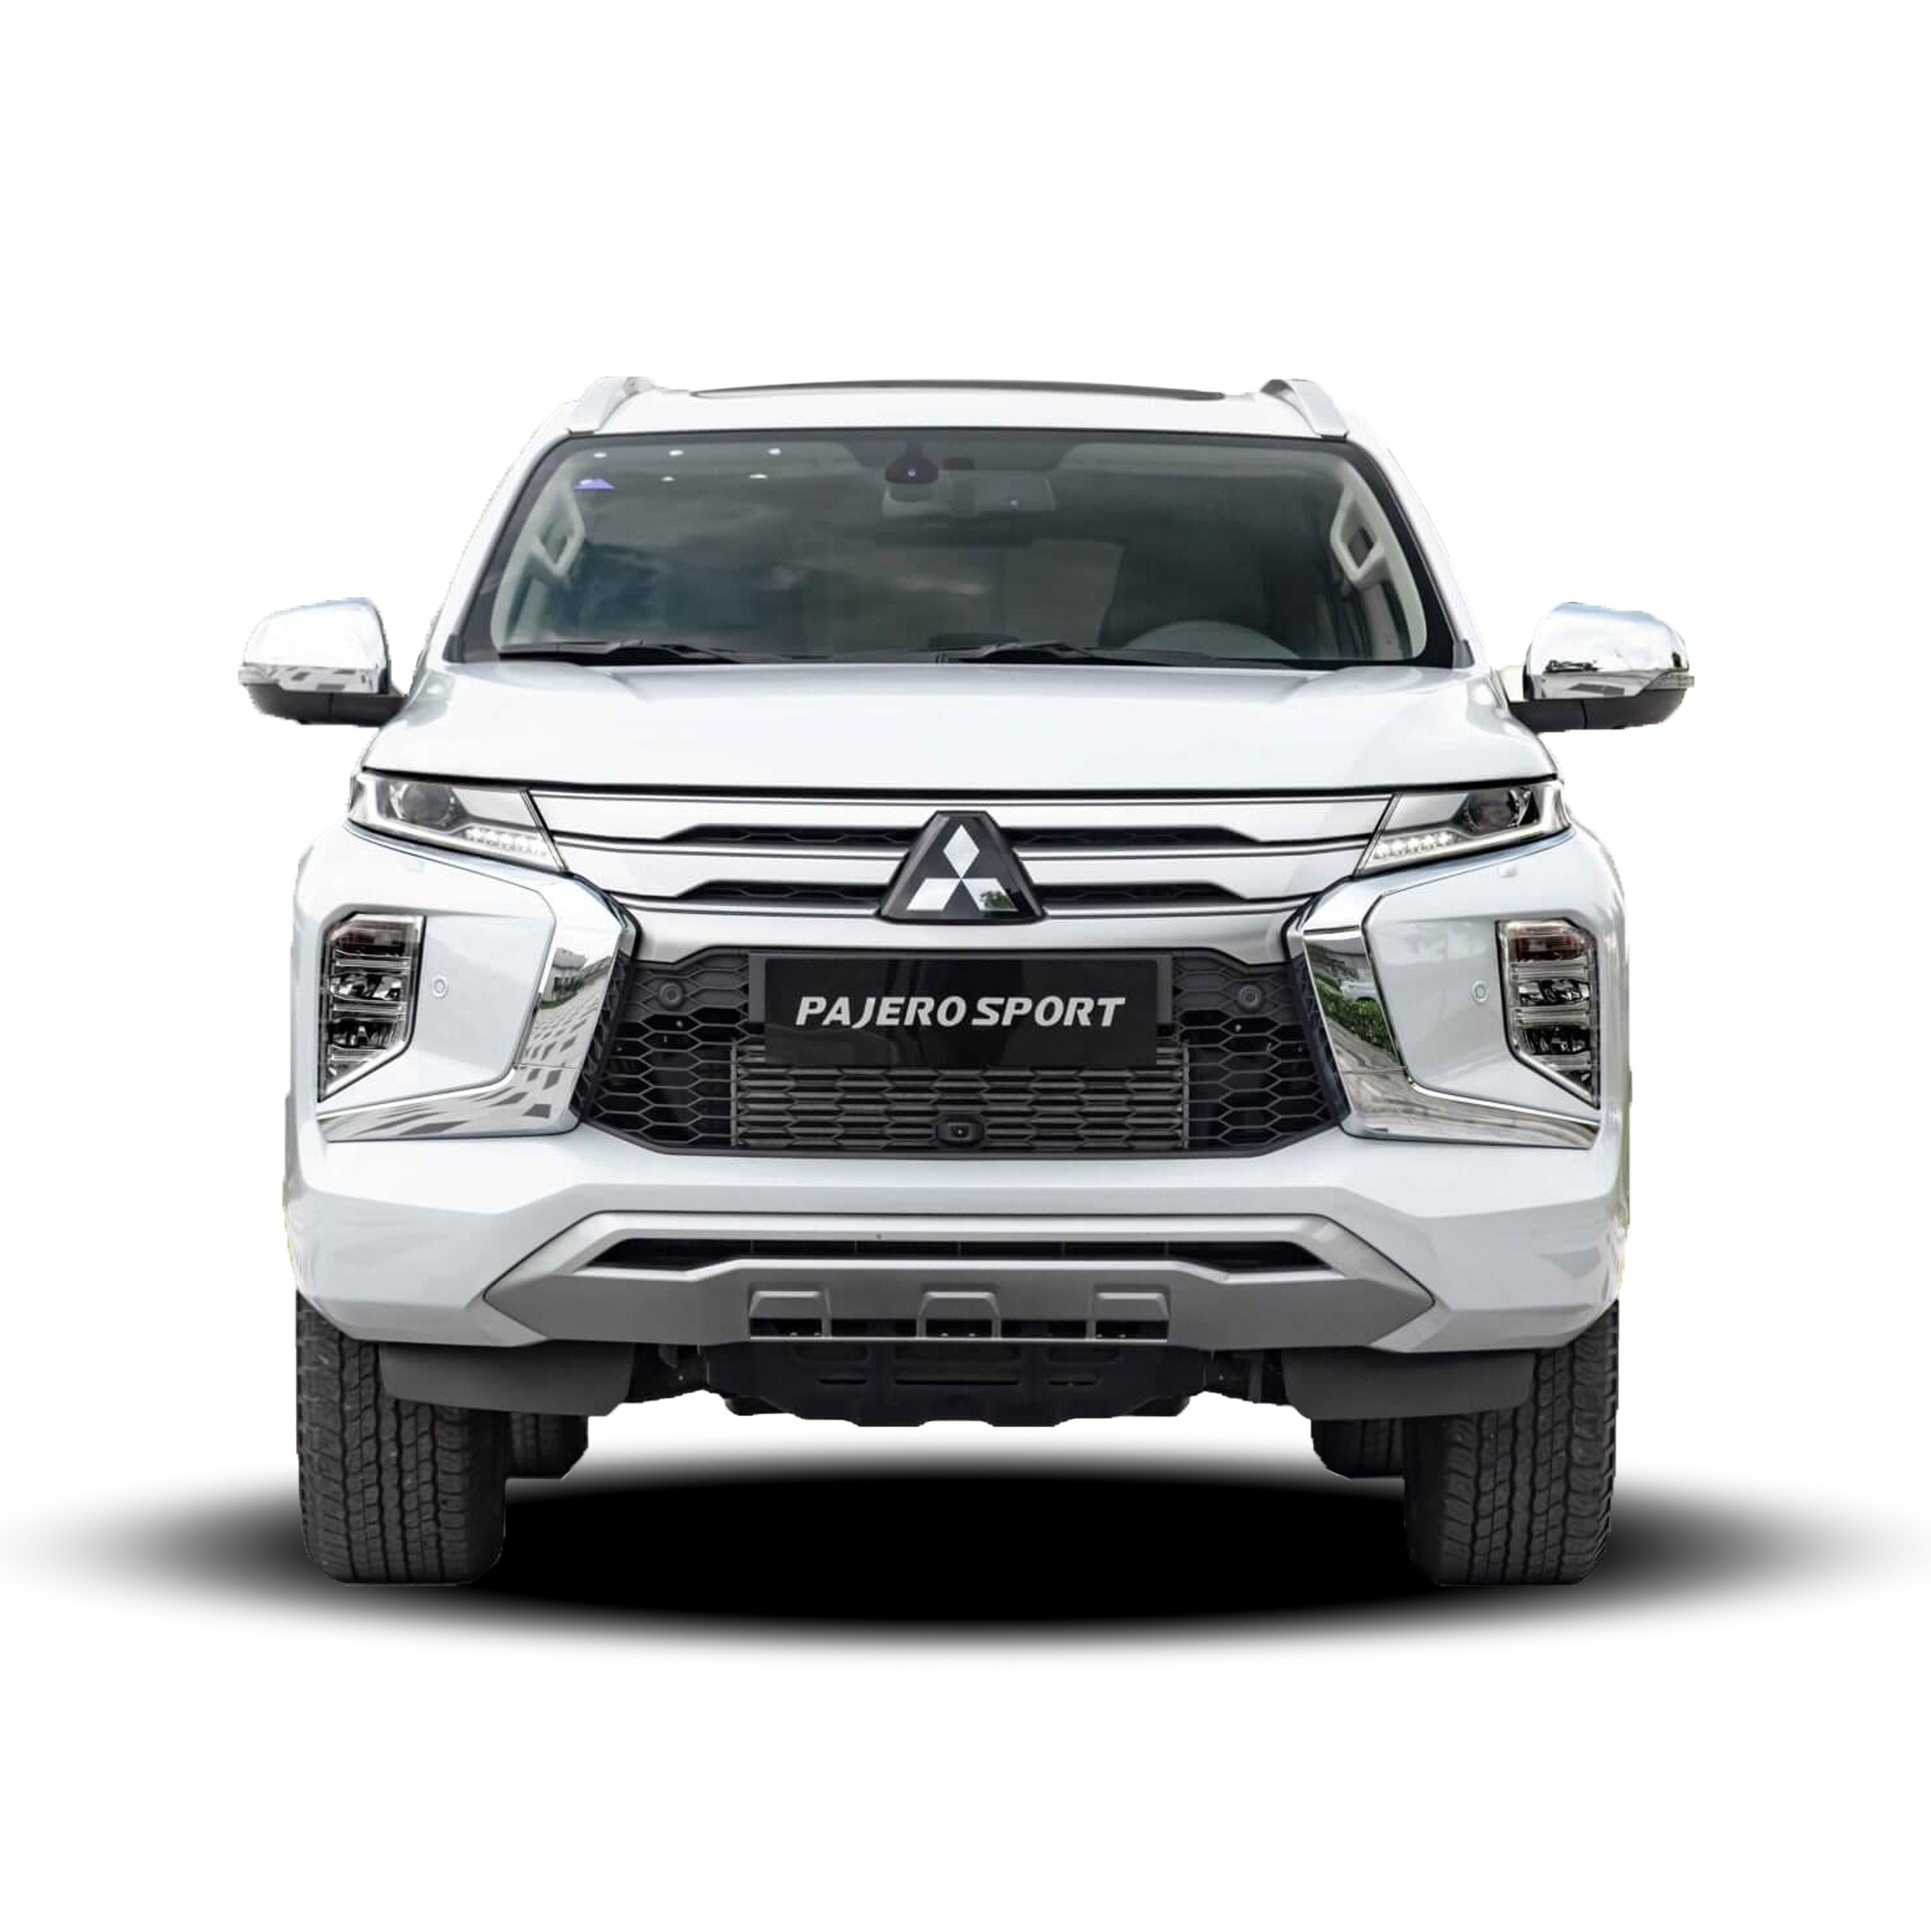
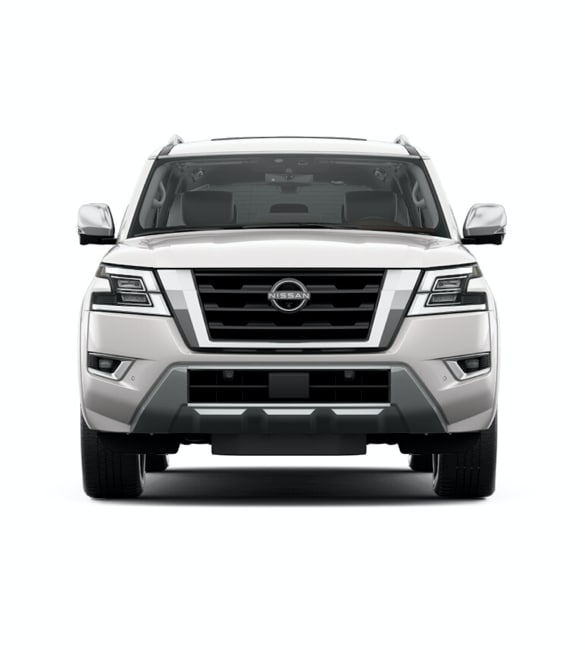
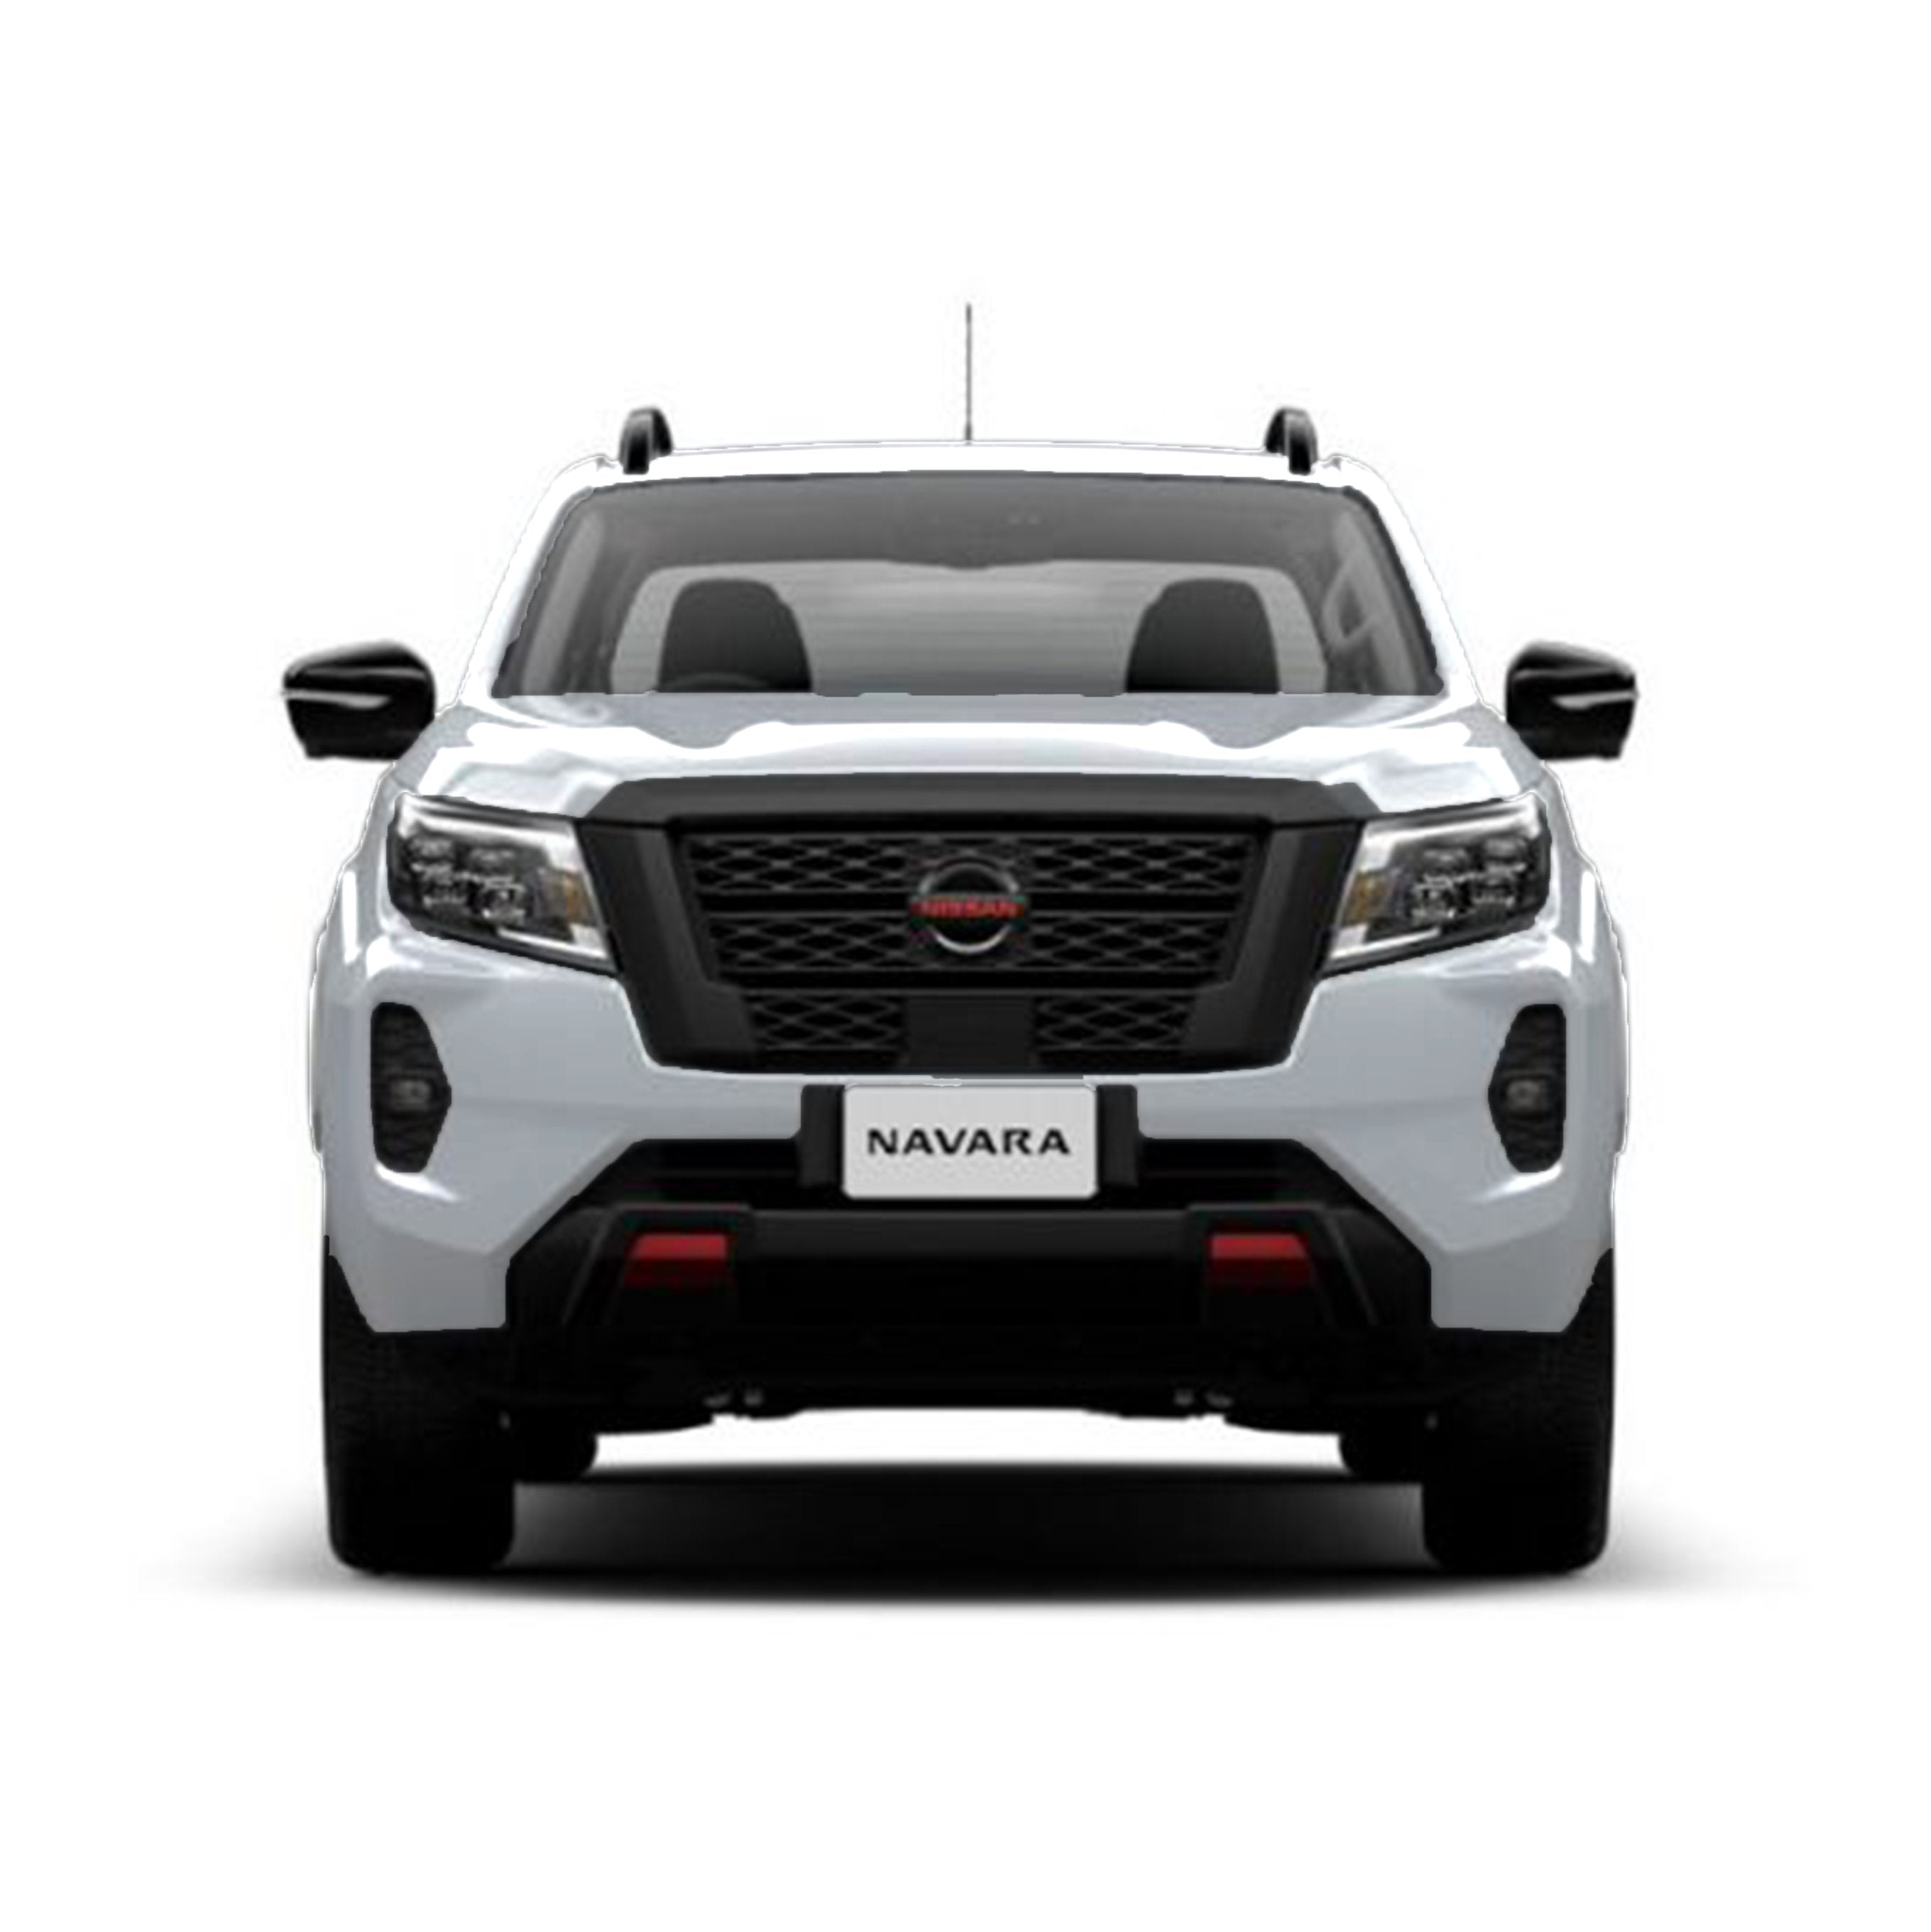
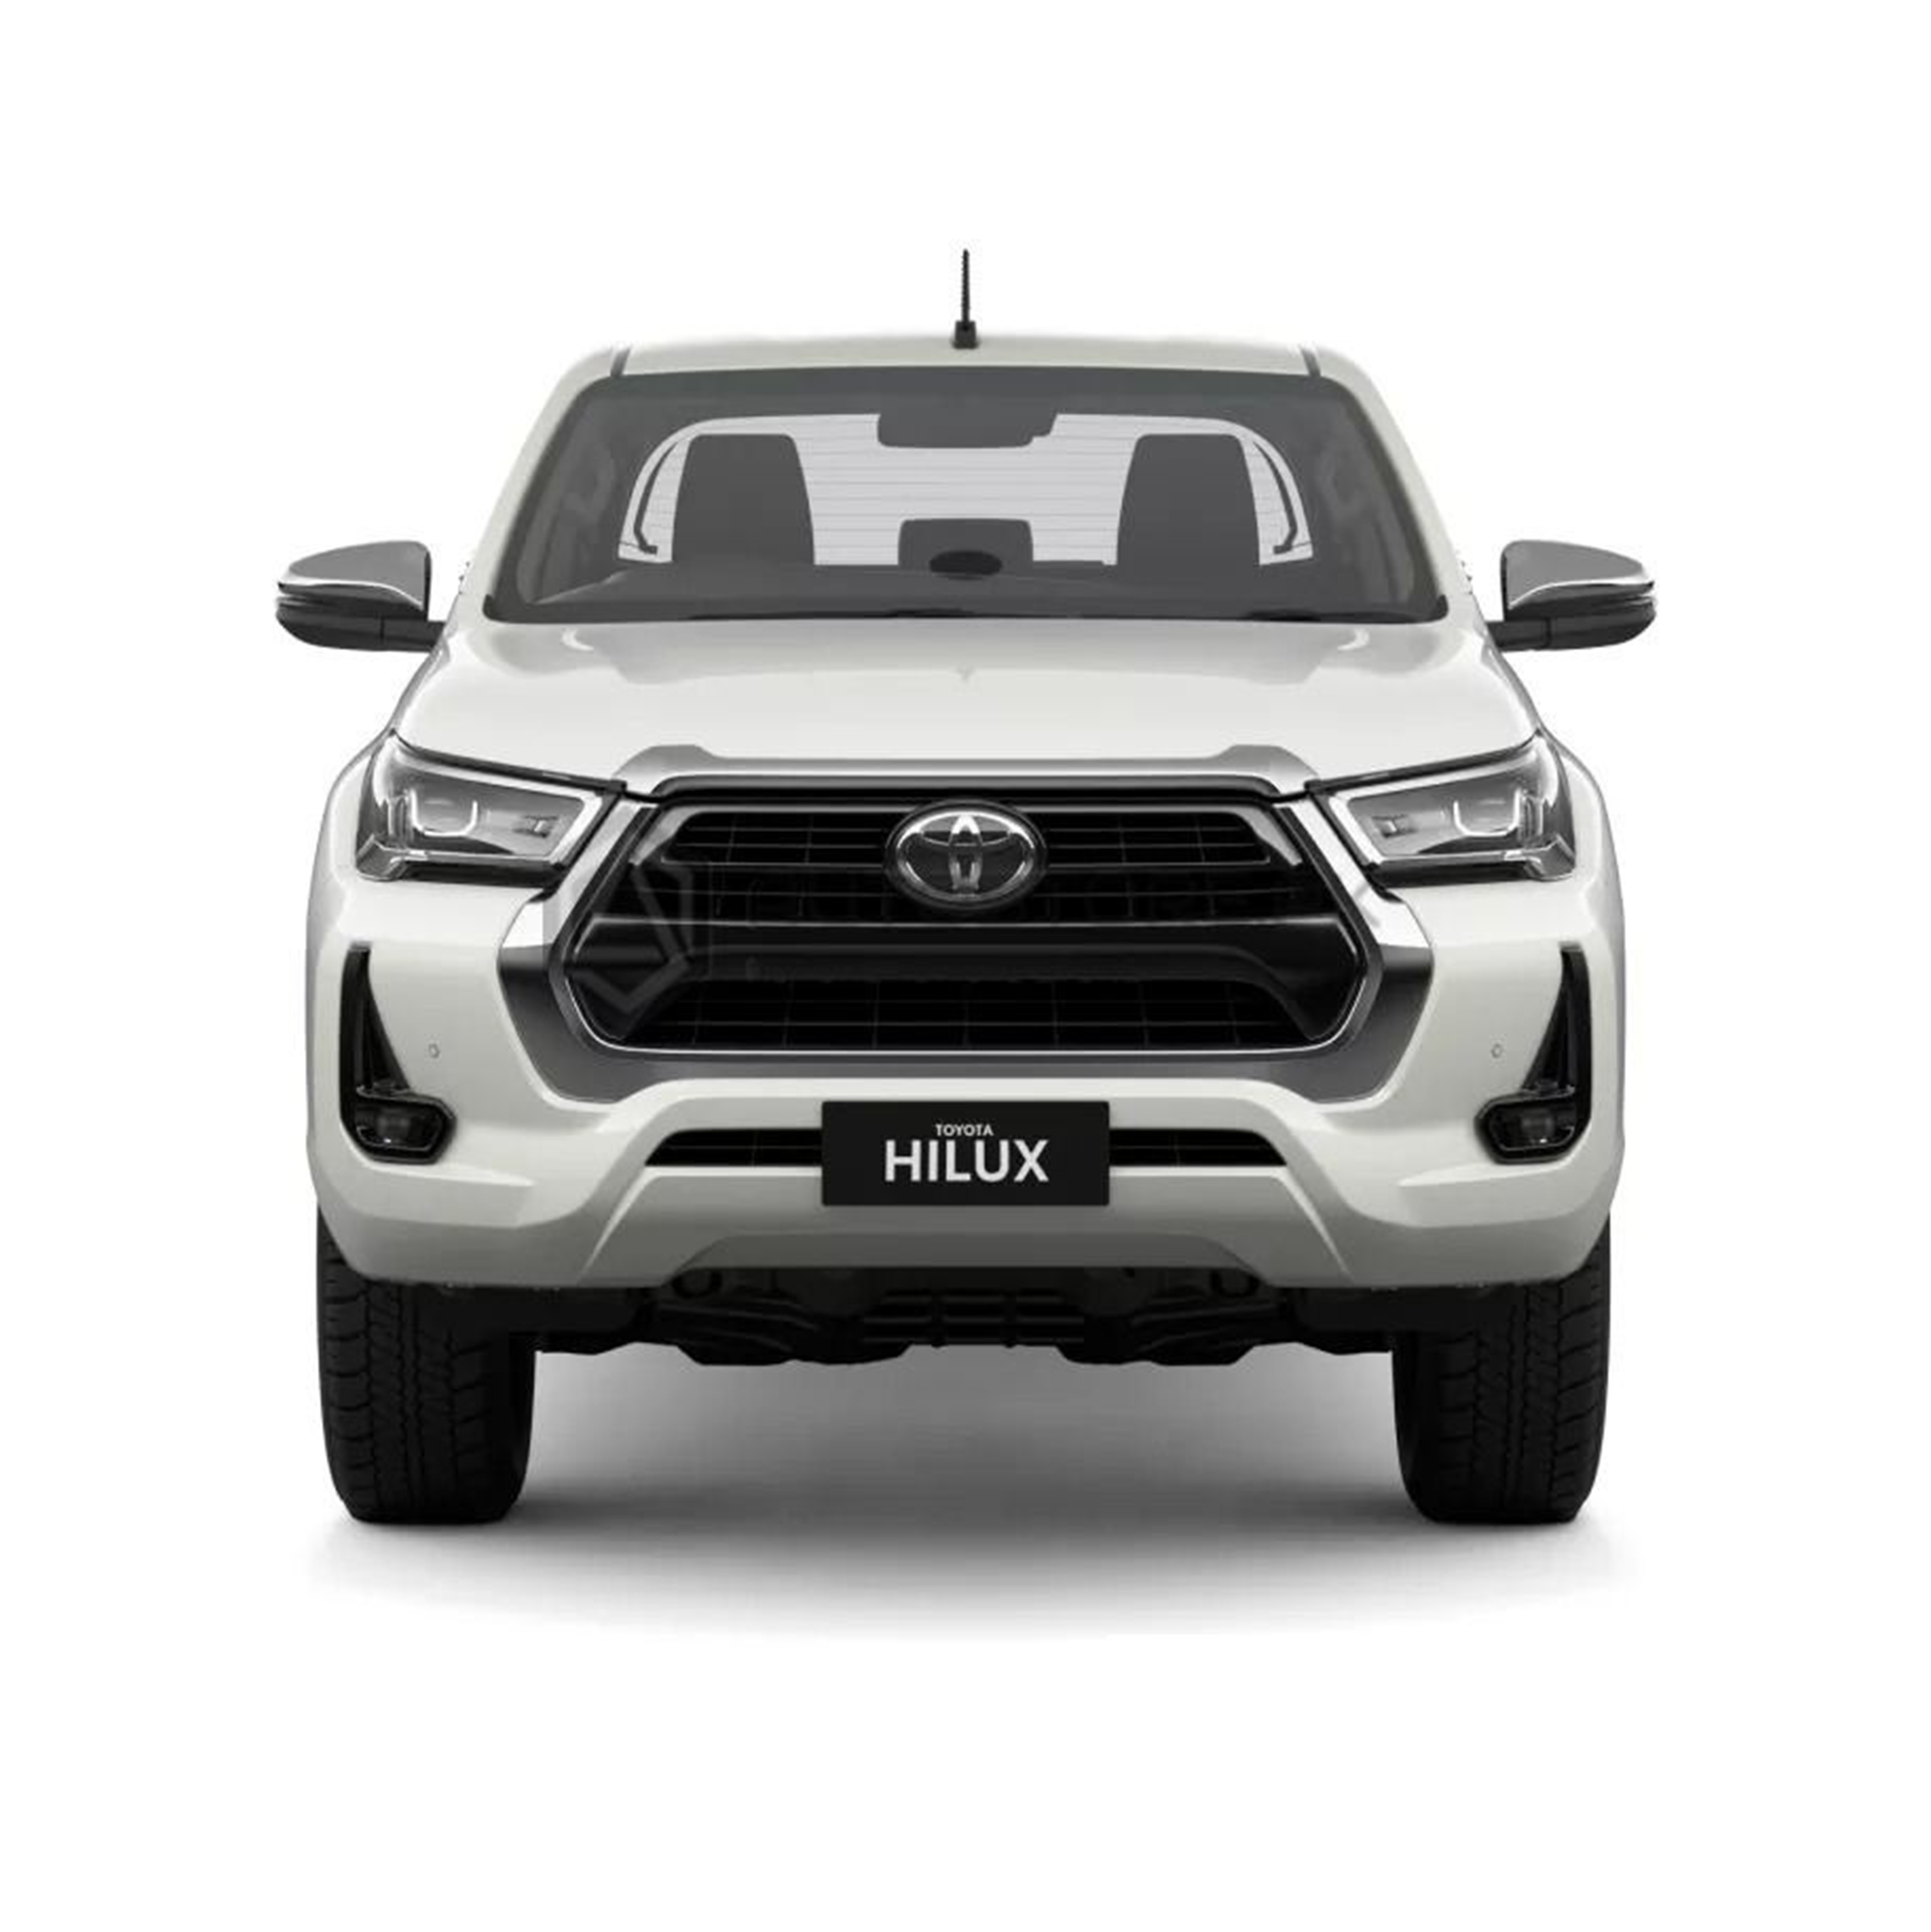
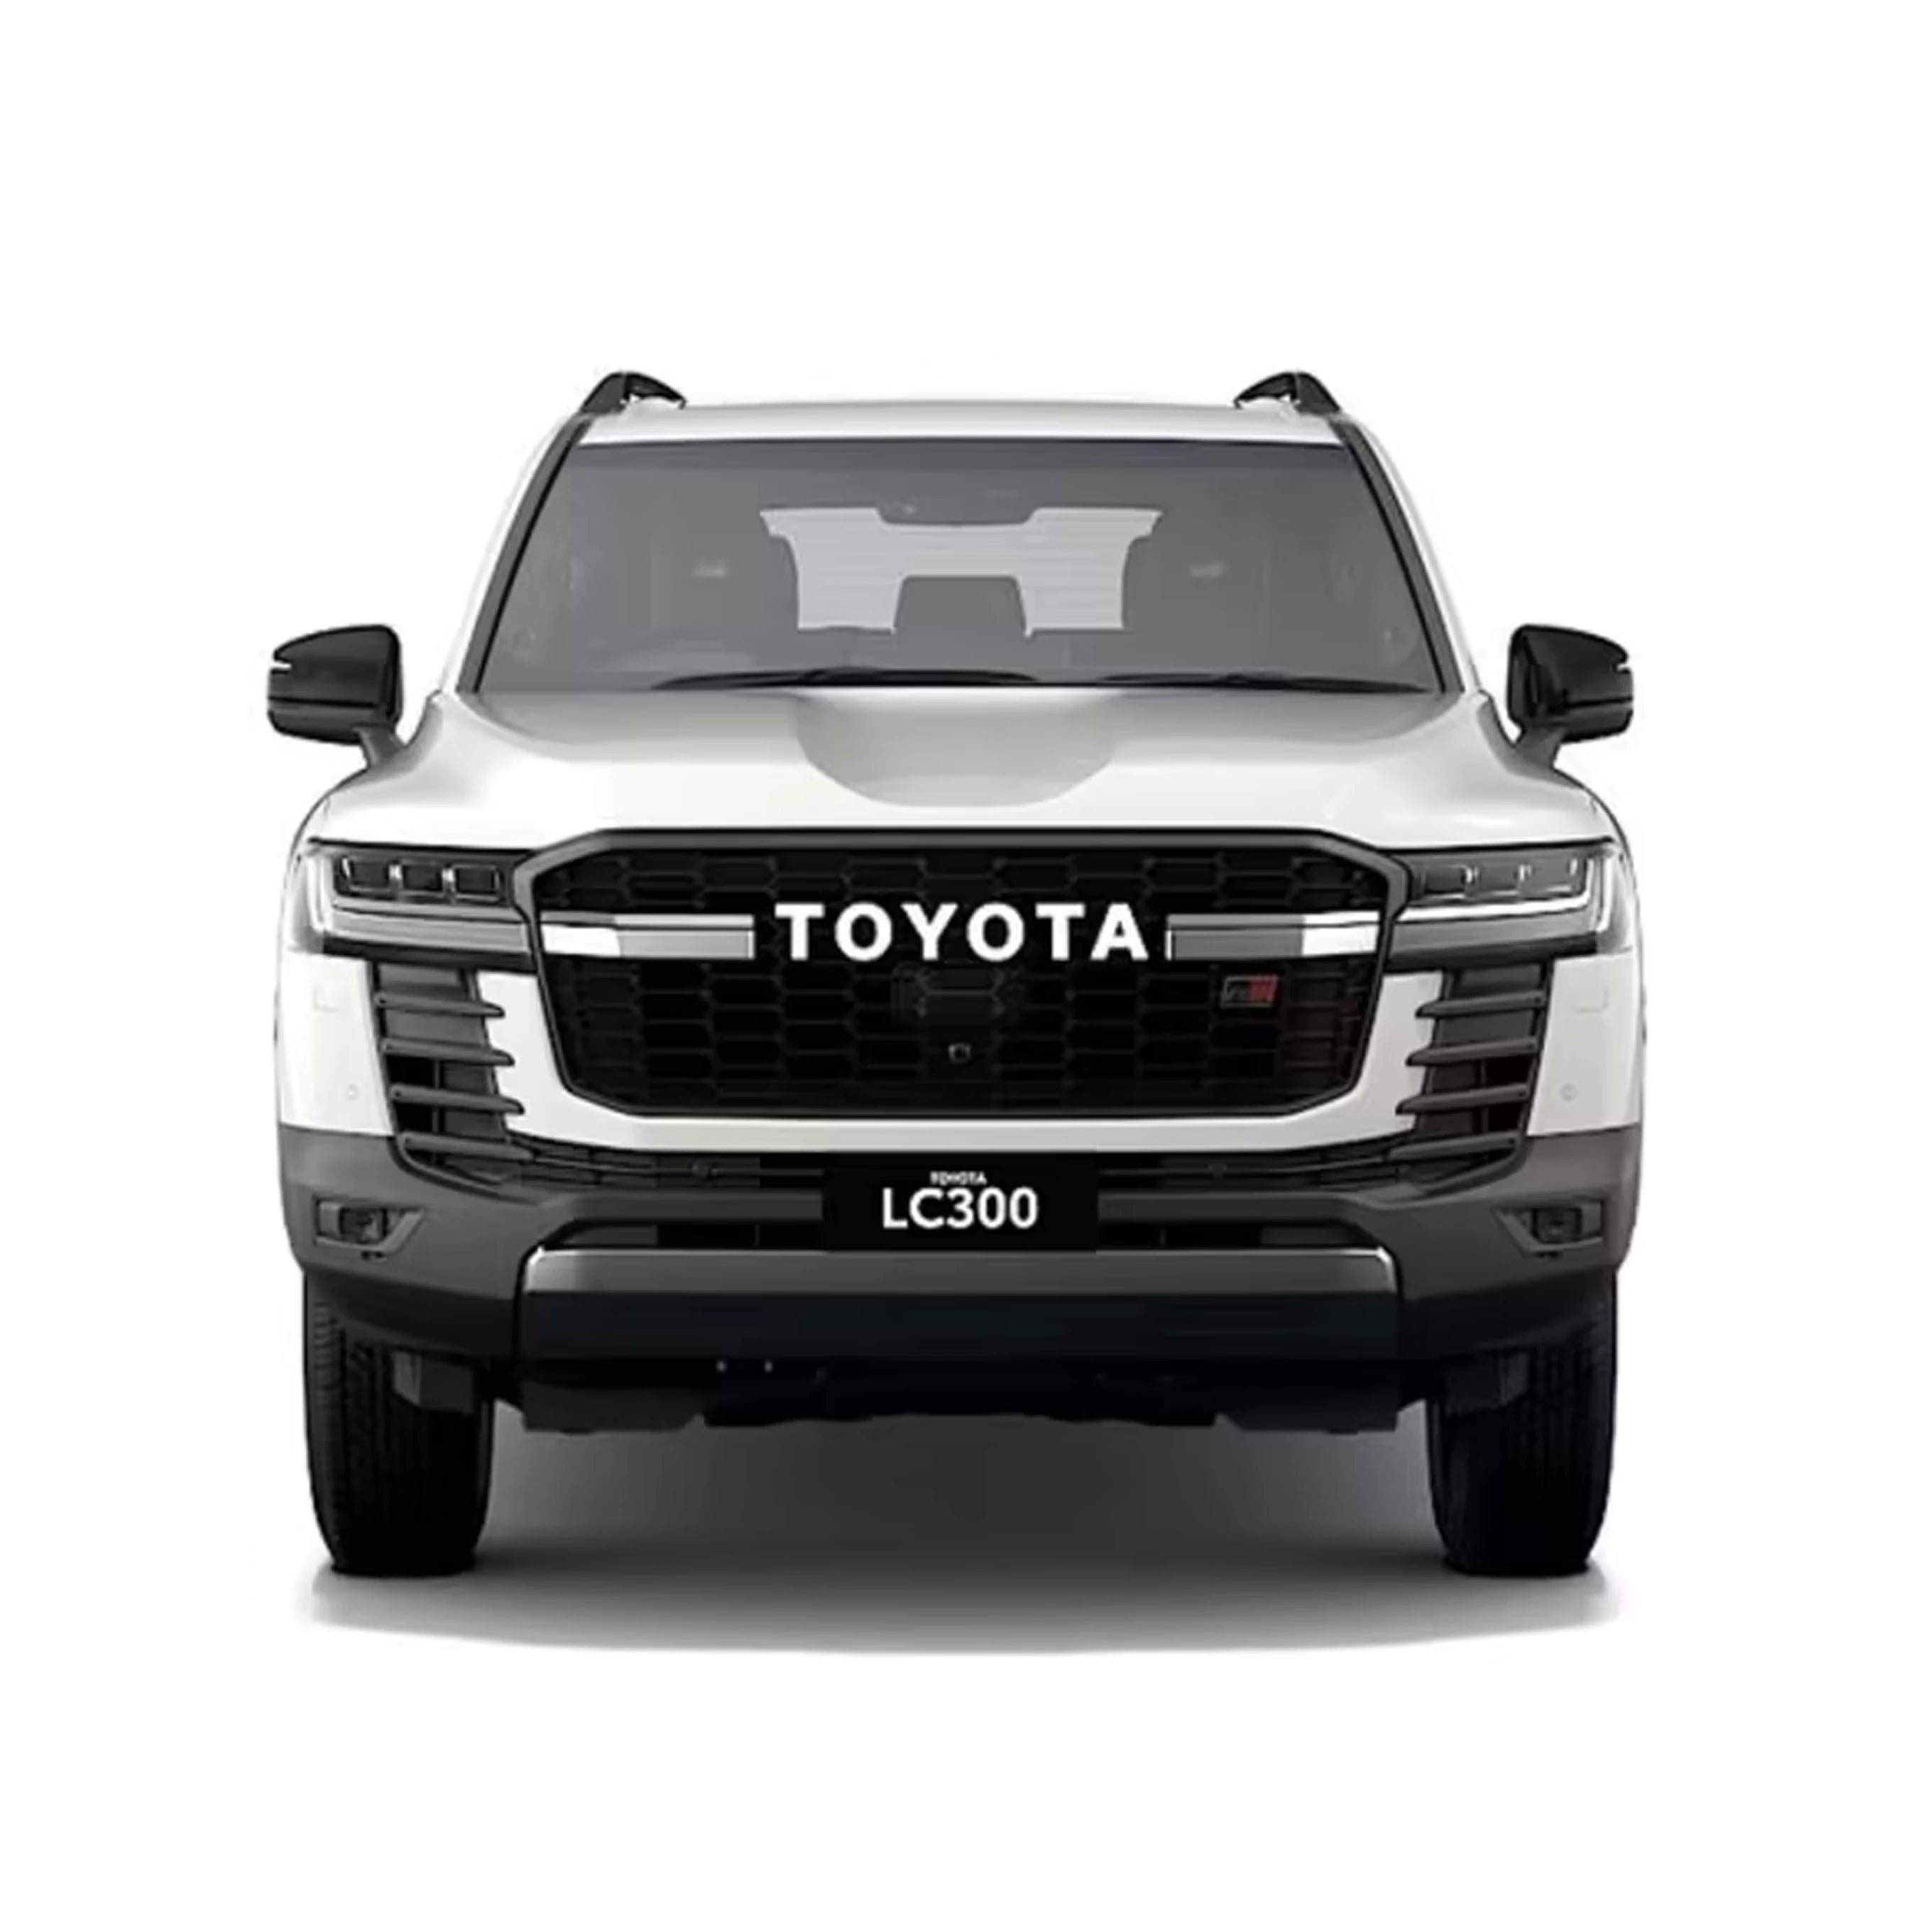
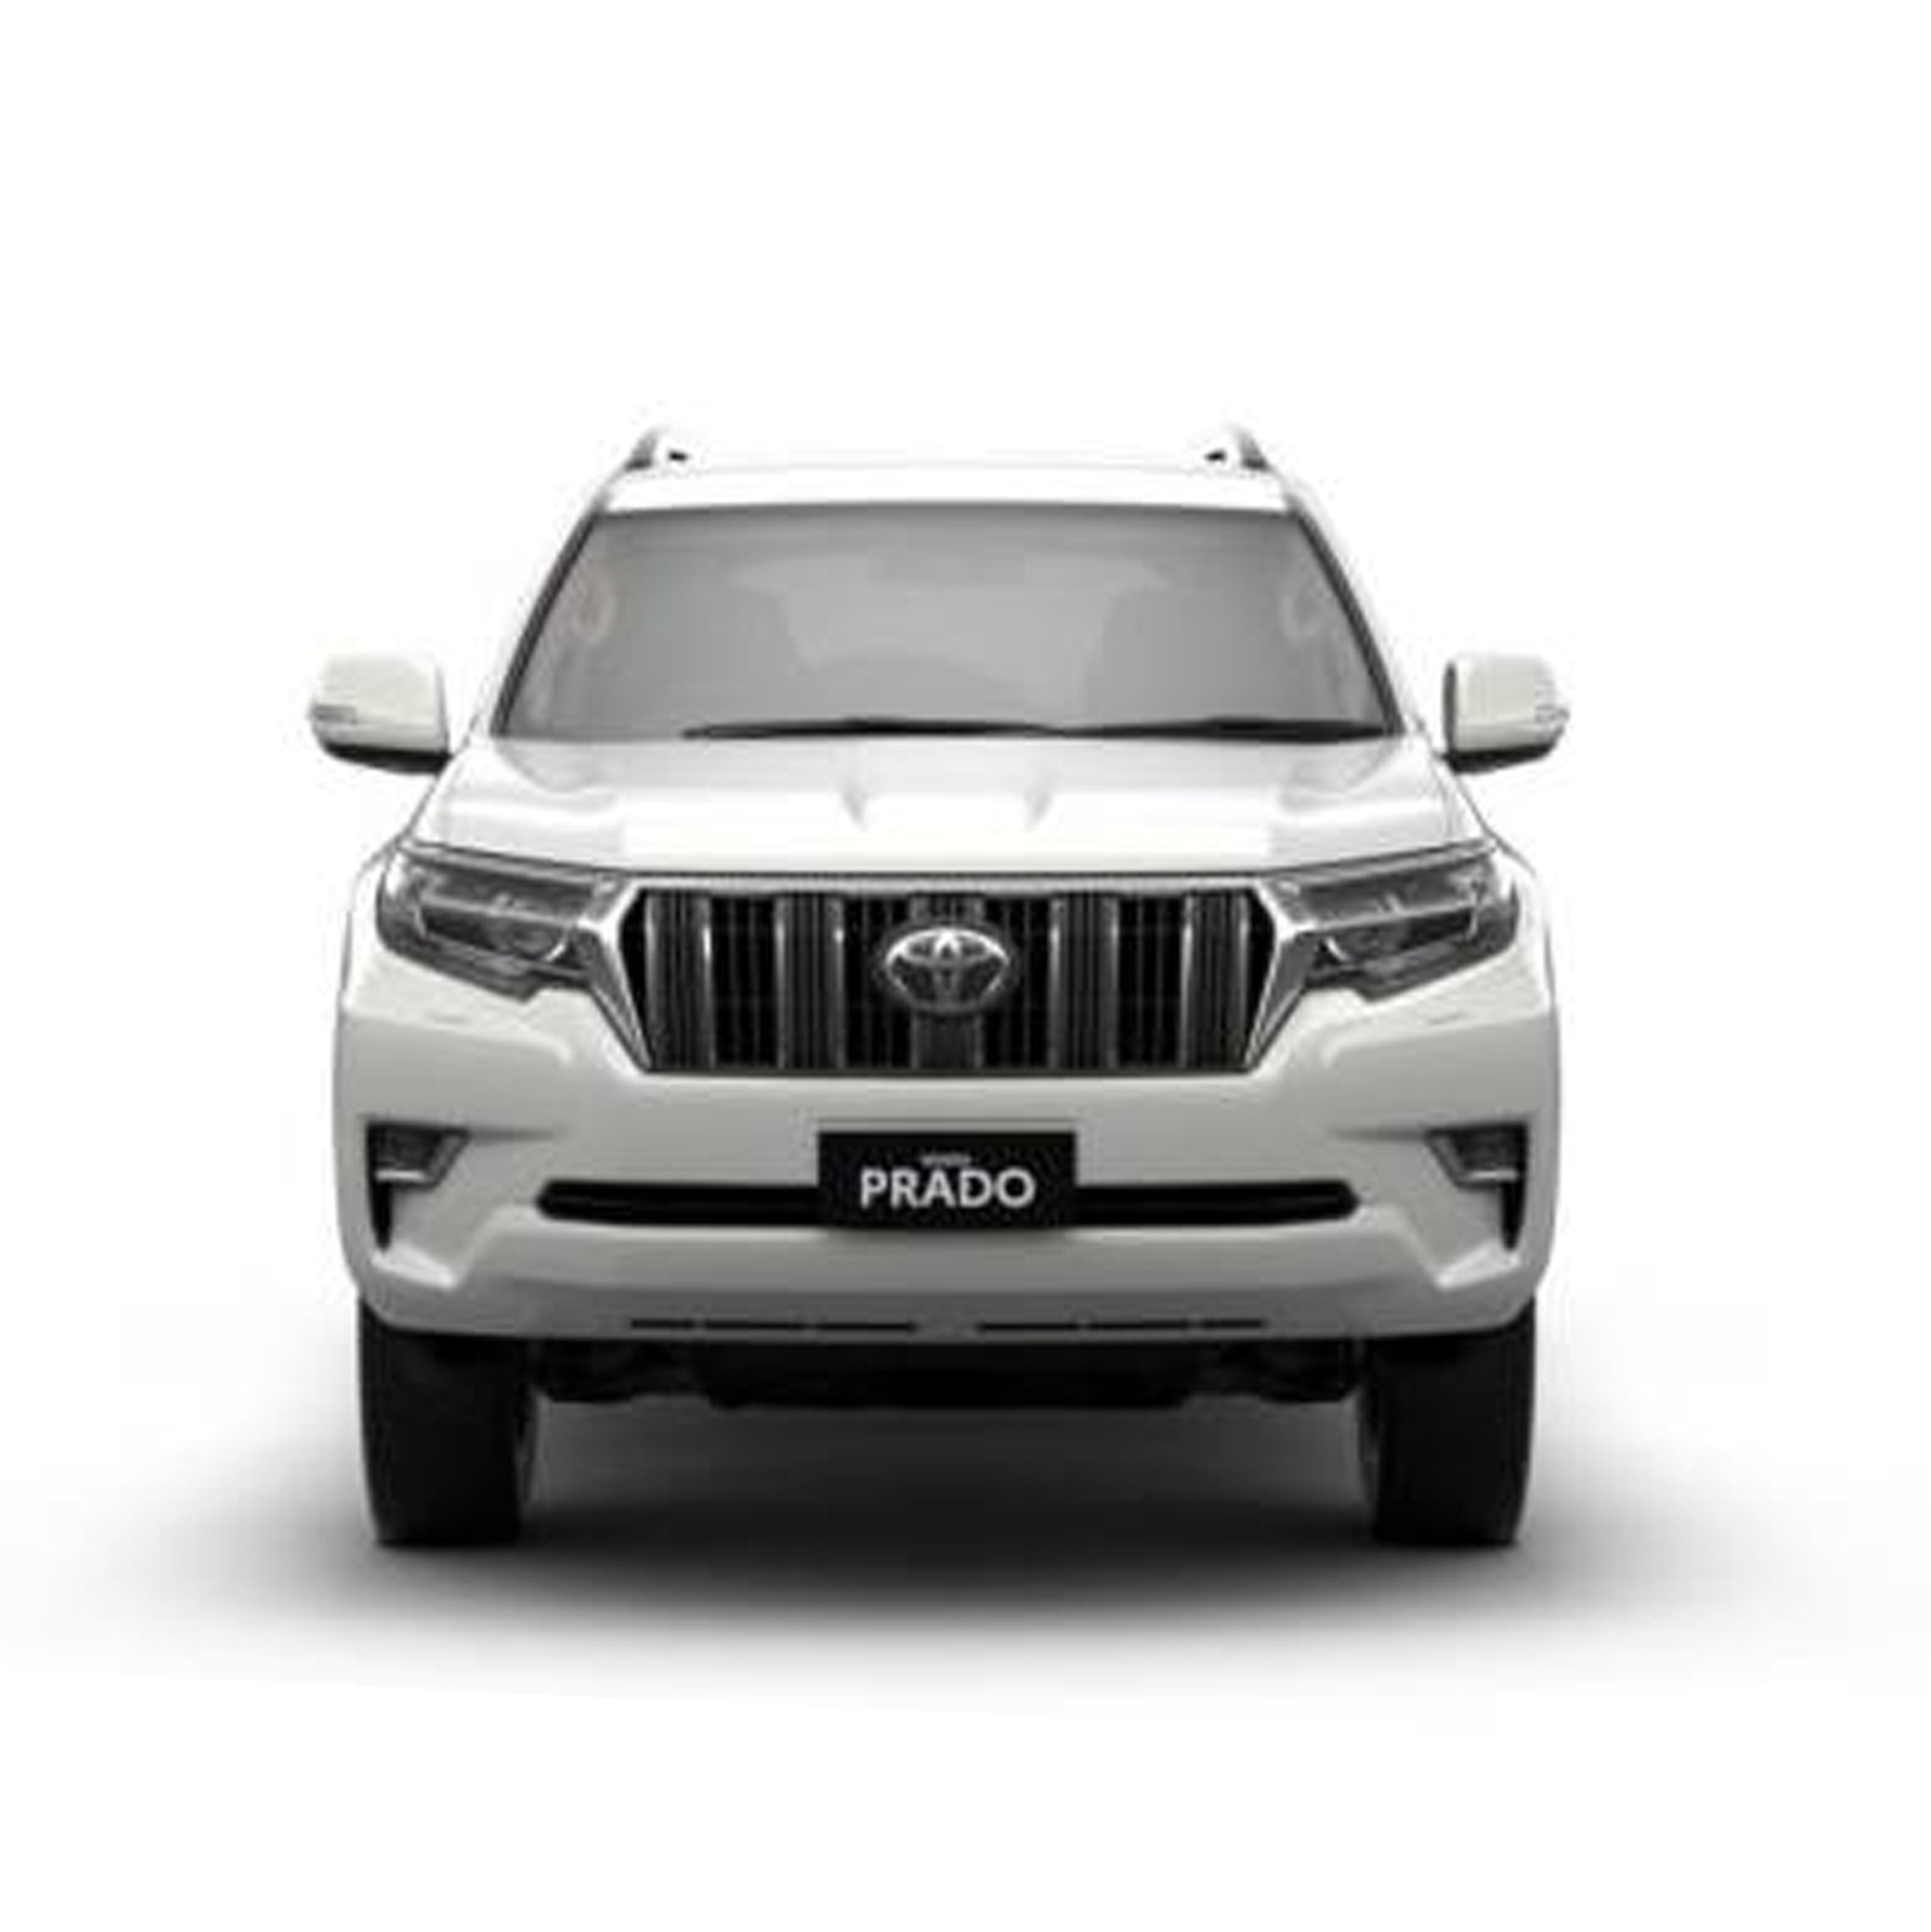
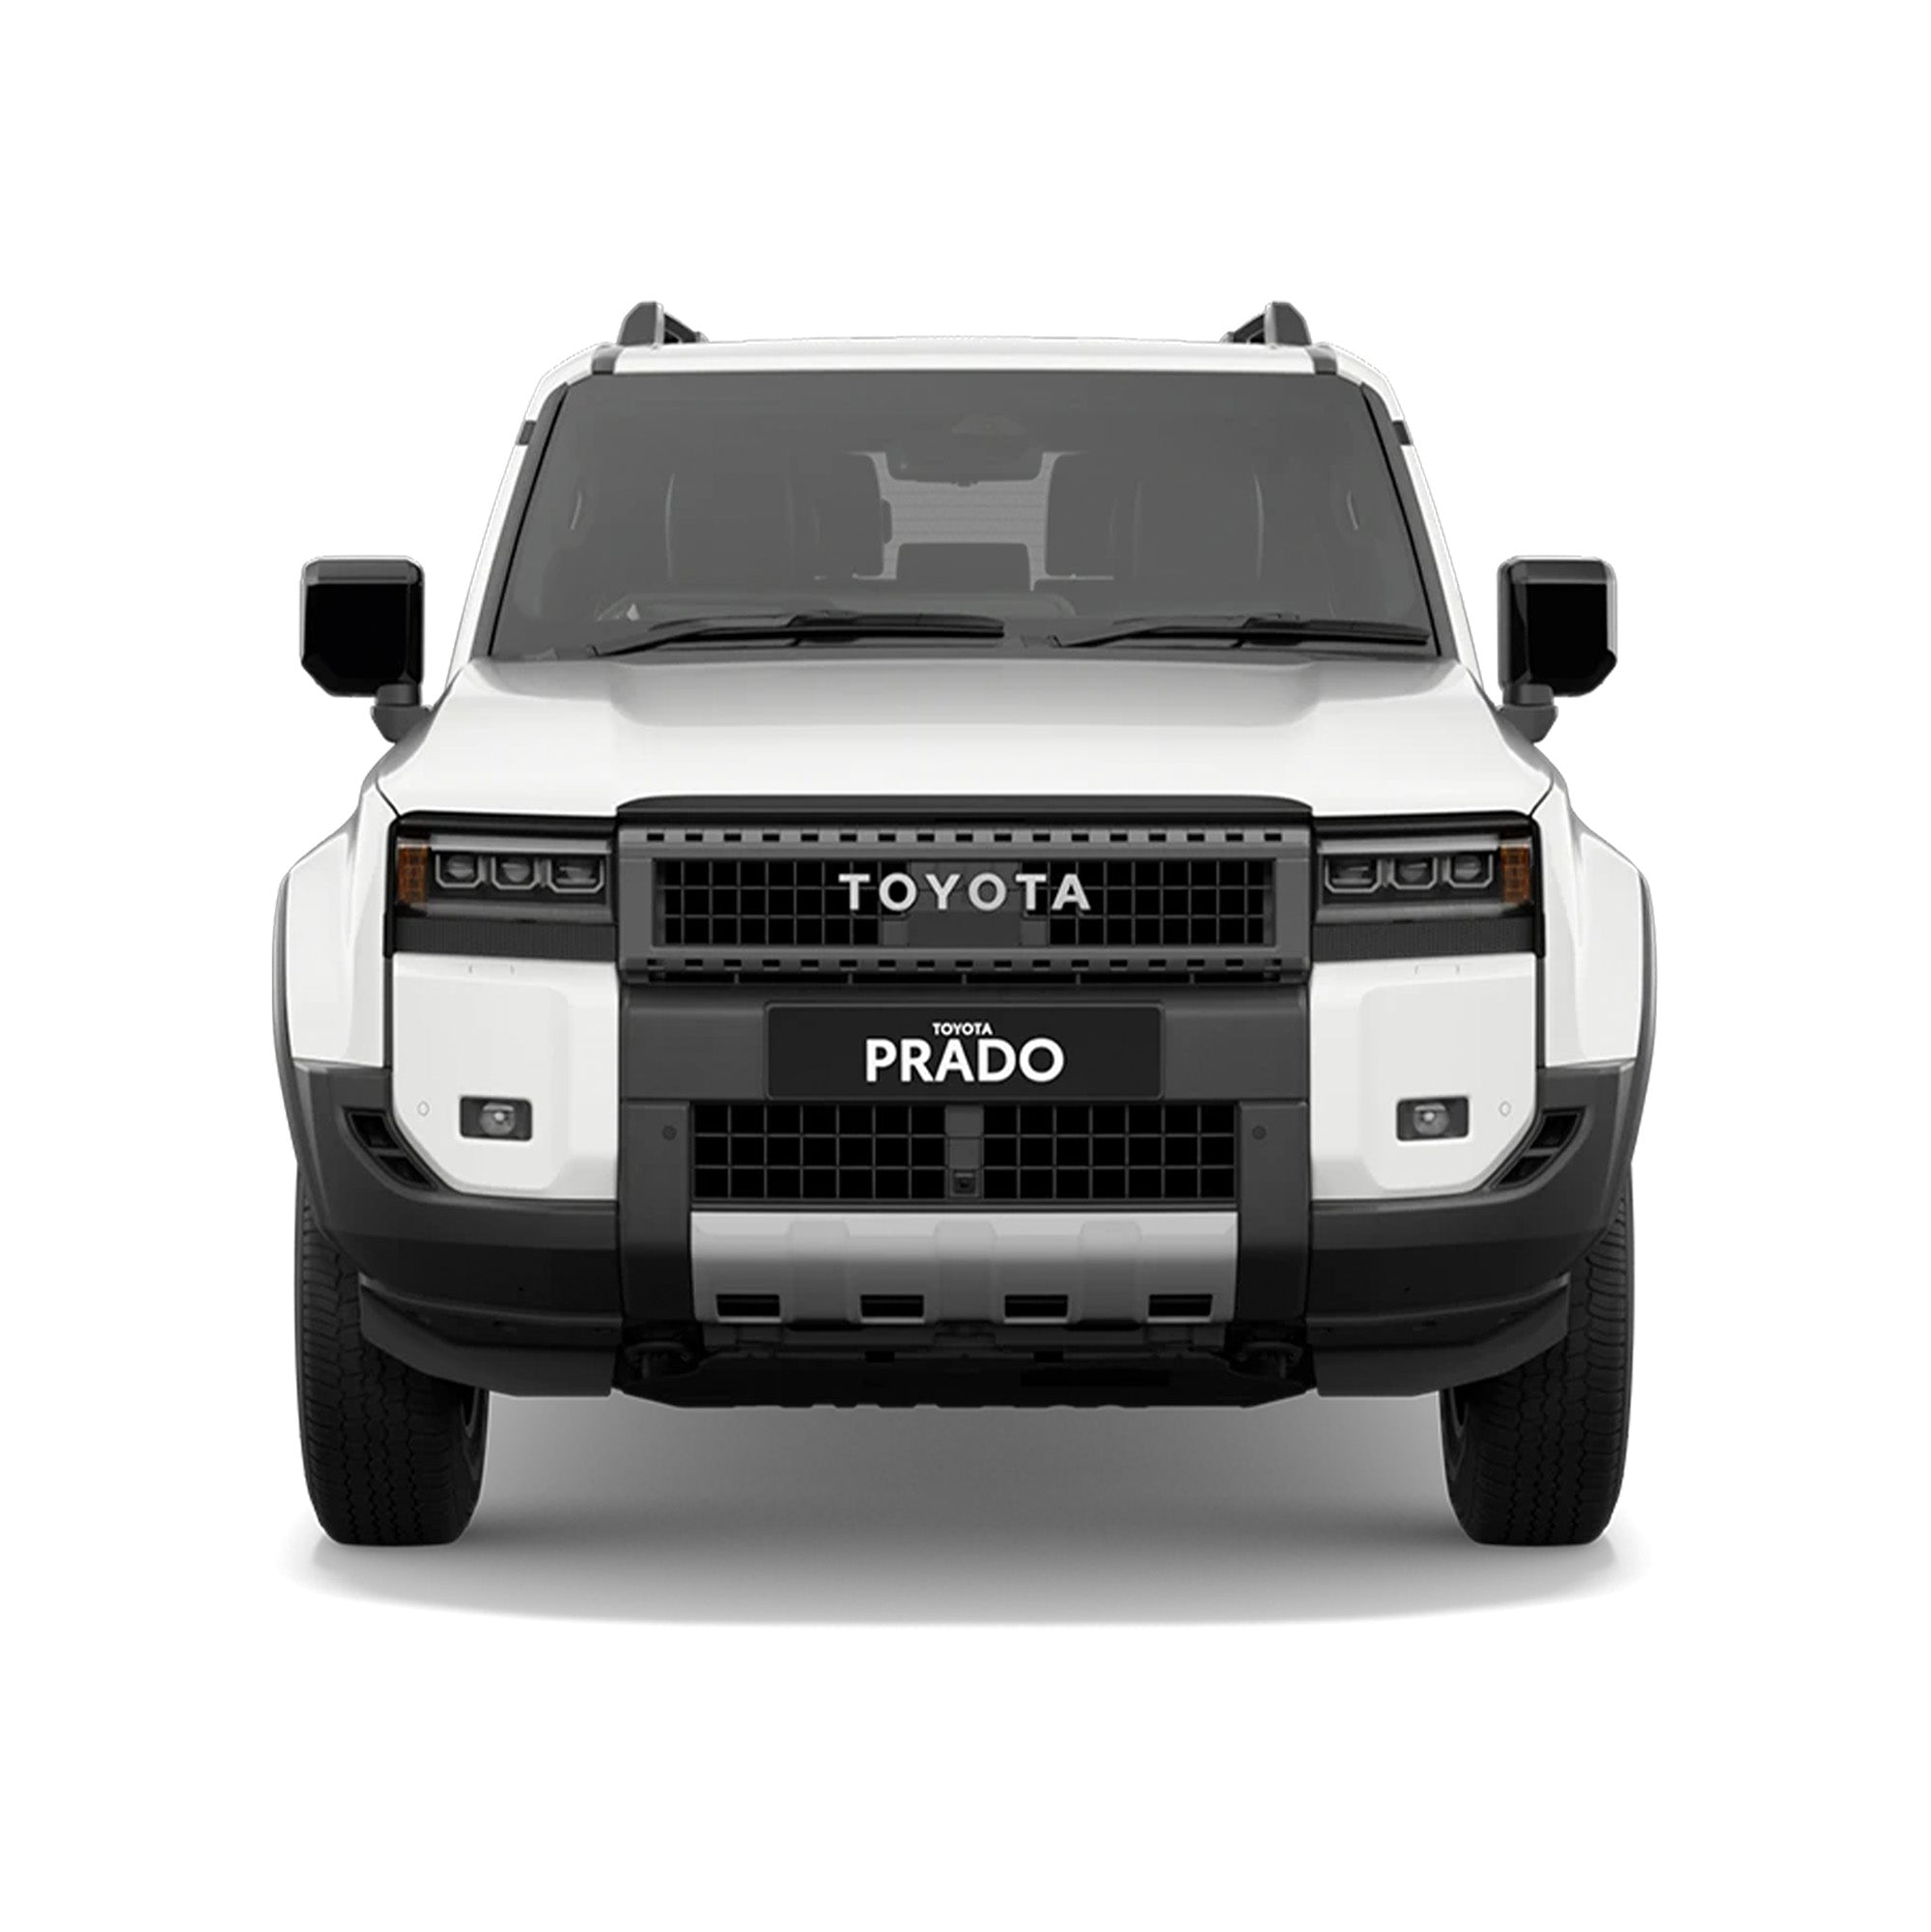
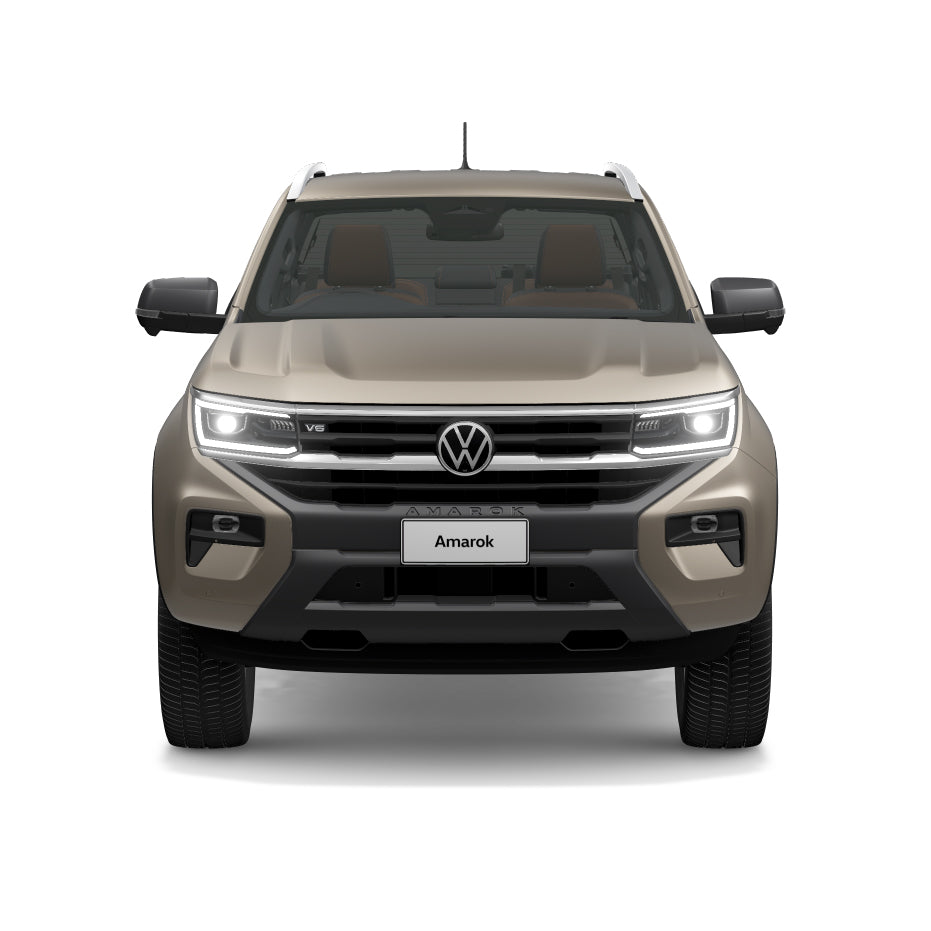
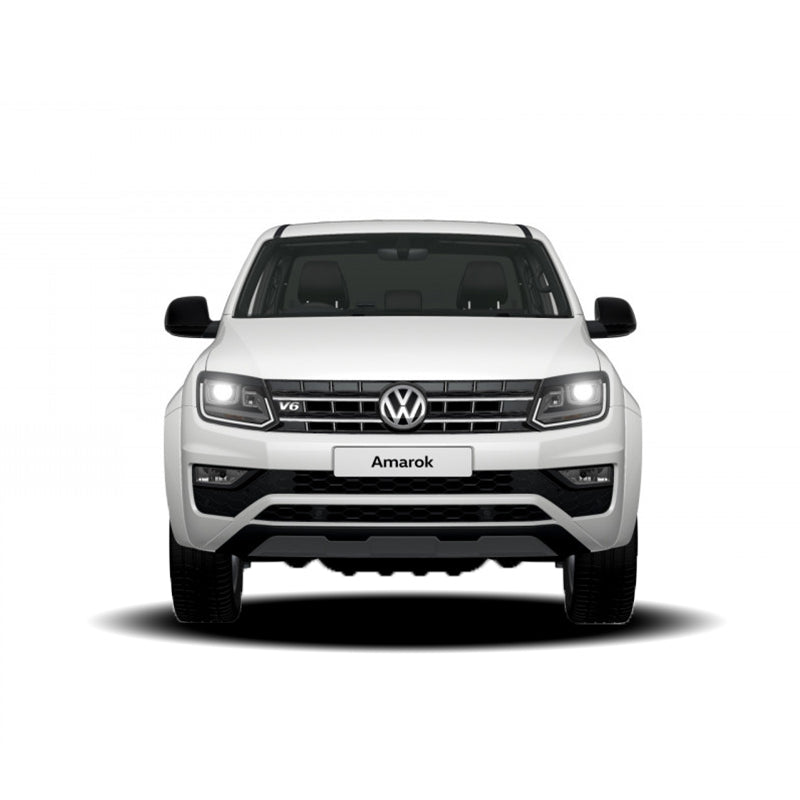
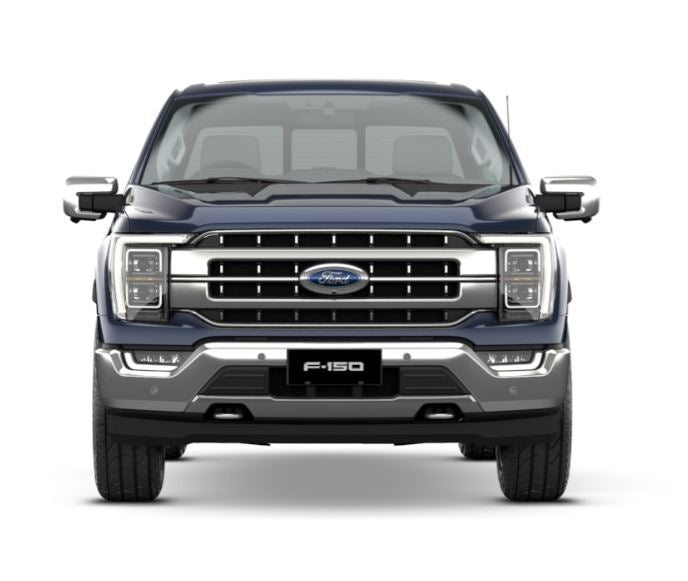
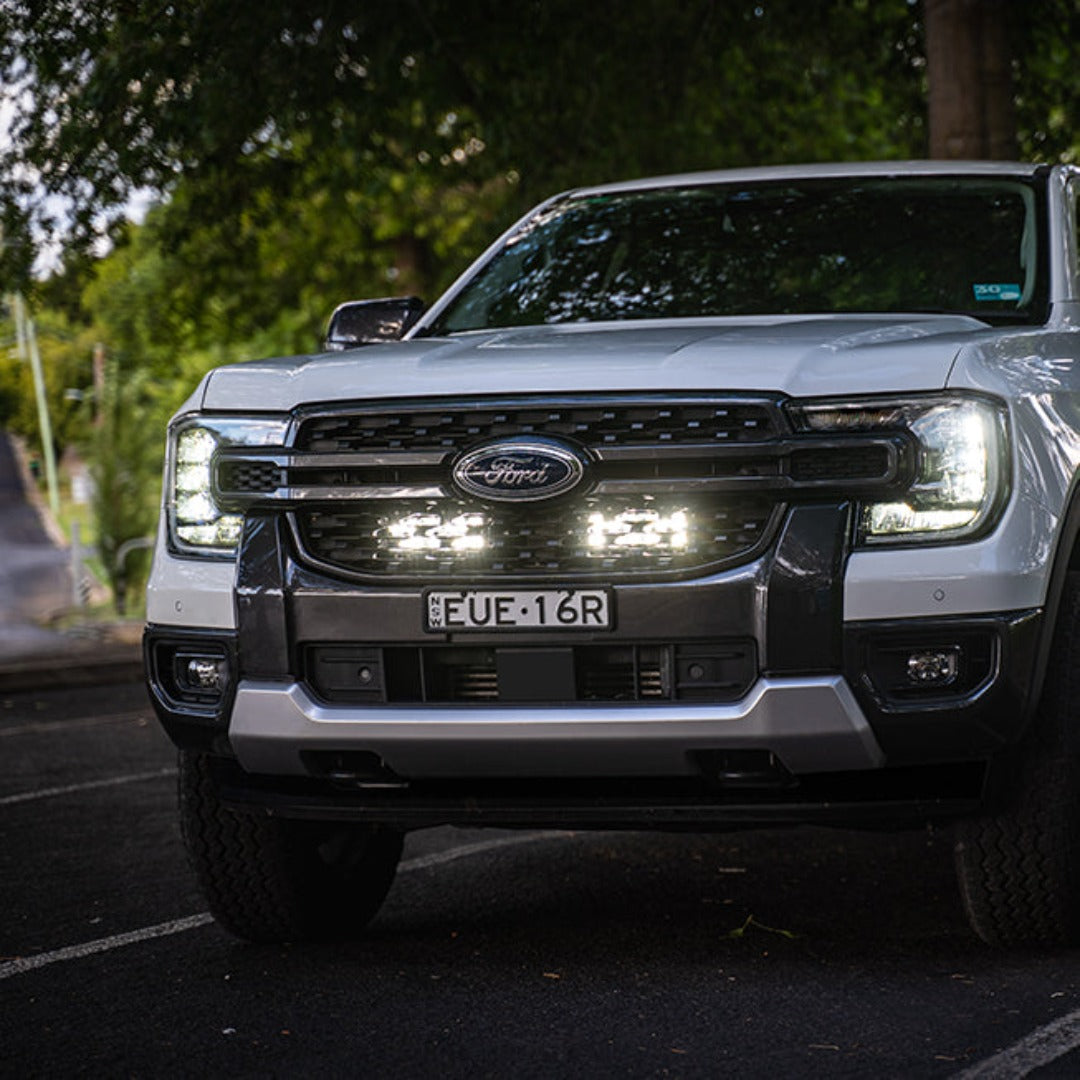
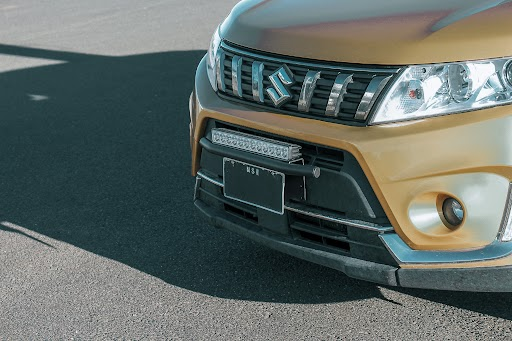
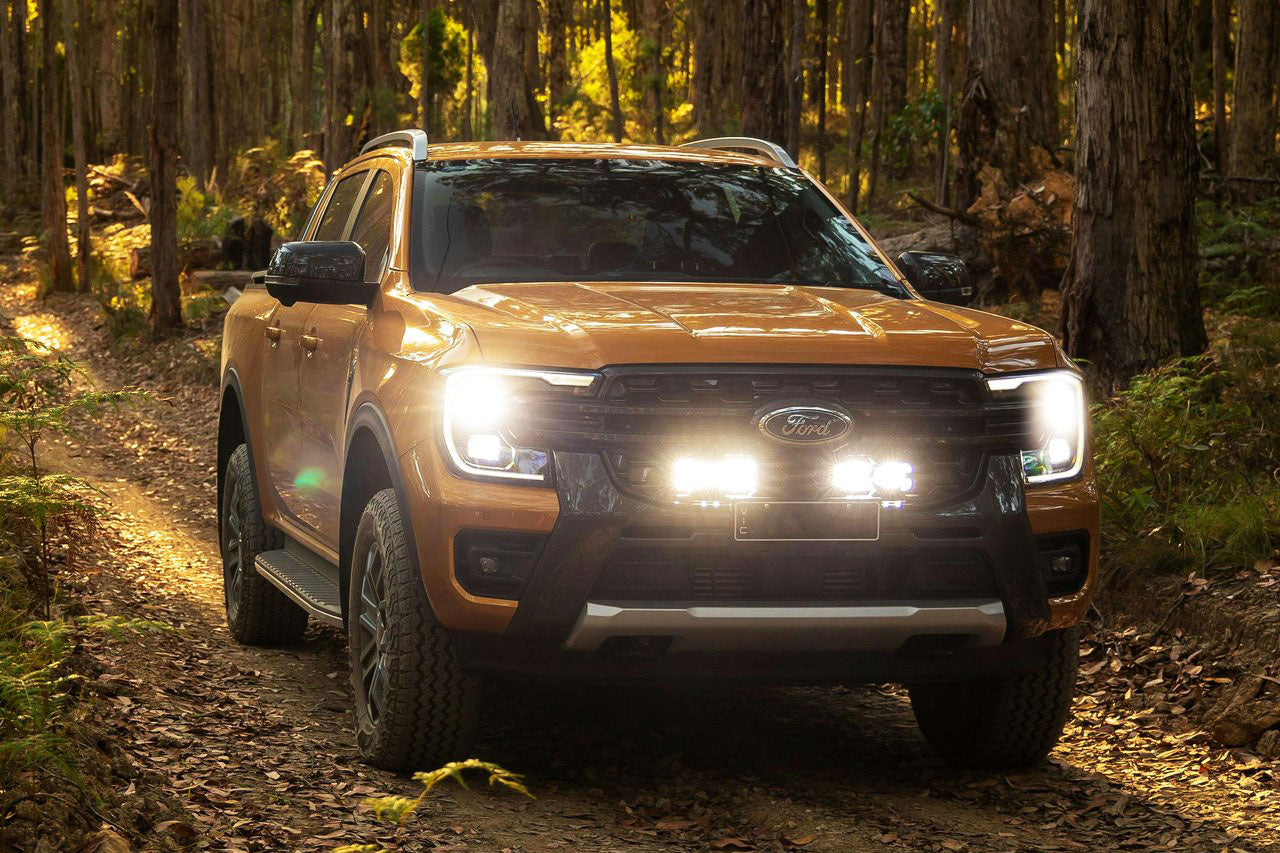
Want 4WD lights without the hassle of a bull bar? TrailBait’s Behind-The-Grille Light Bar is the perfect choice! They give your 4WD an upgrade without ruining its slick look, are incredibly functional, deliver awesome lighting and stay hidden behind your grille. Let’s walk through the installation process to see just how easy it is.
STEP 1: PICK THE RIGHT LIGHTBAR COMBO
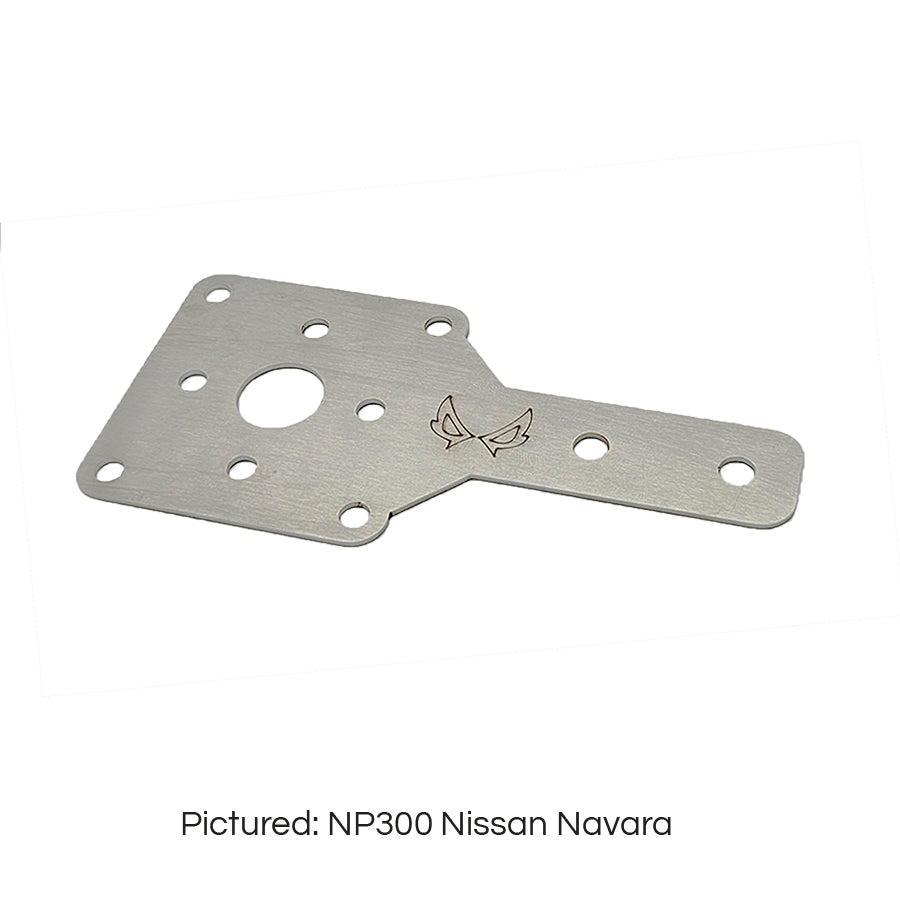
You’ll need the perfect match for your ride. Whether you’re driving the Next-Gen Ranger Raptor, Toyota Hilux, LandCruiser, Prado, MR Triton and more, TrailBait has a Behind-The-Grille Light Bar that’ll slide right into place with no drilling or cutting needed! We have mounts for all major brands and light manufacturers and if you have your own light bar you’re looking to relocate, we have bracket-only options available too. Check out the full range here.
STEP 2: ACCESS BEHIND THE GRILLE
To access the area where the light bar goes, every rig has a slightly different process. Usually, just the shroud above the grille needs to be removed to access the location. Sometimes the grille does need to be removed for access. Detailed clearly in the instructions is the bolts, screws or clips to undo, and once it’s off, you’re in business. Now you can easily reach the mounting points where the light bar will be installed. Take a look at this video as an example for the Next Gen Ford Ranger.
STEP 3: MOUNT THOSE BRACKETS
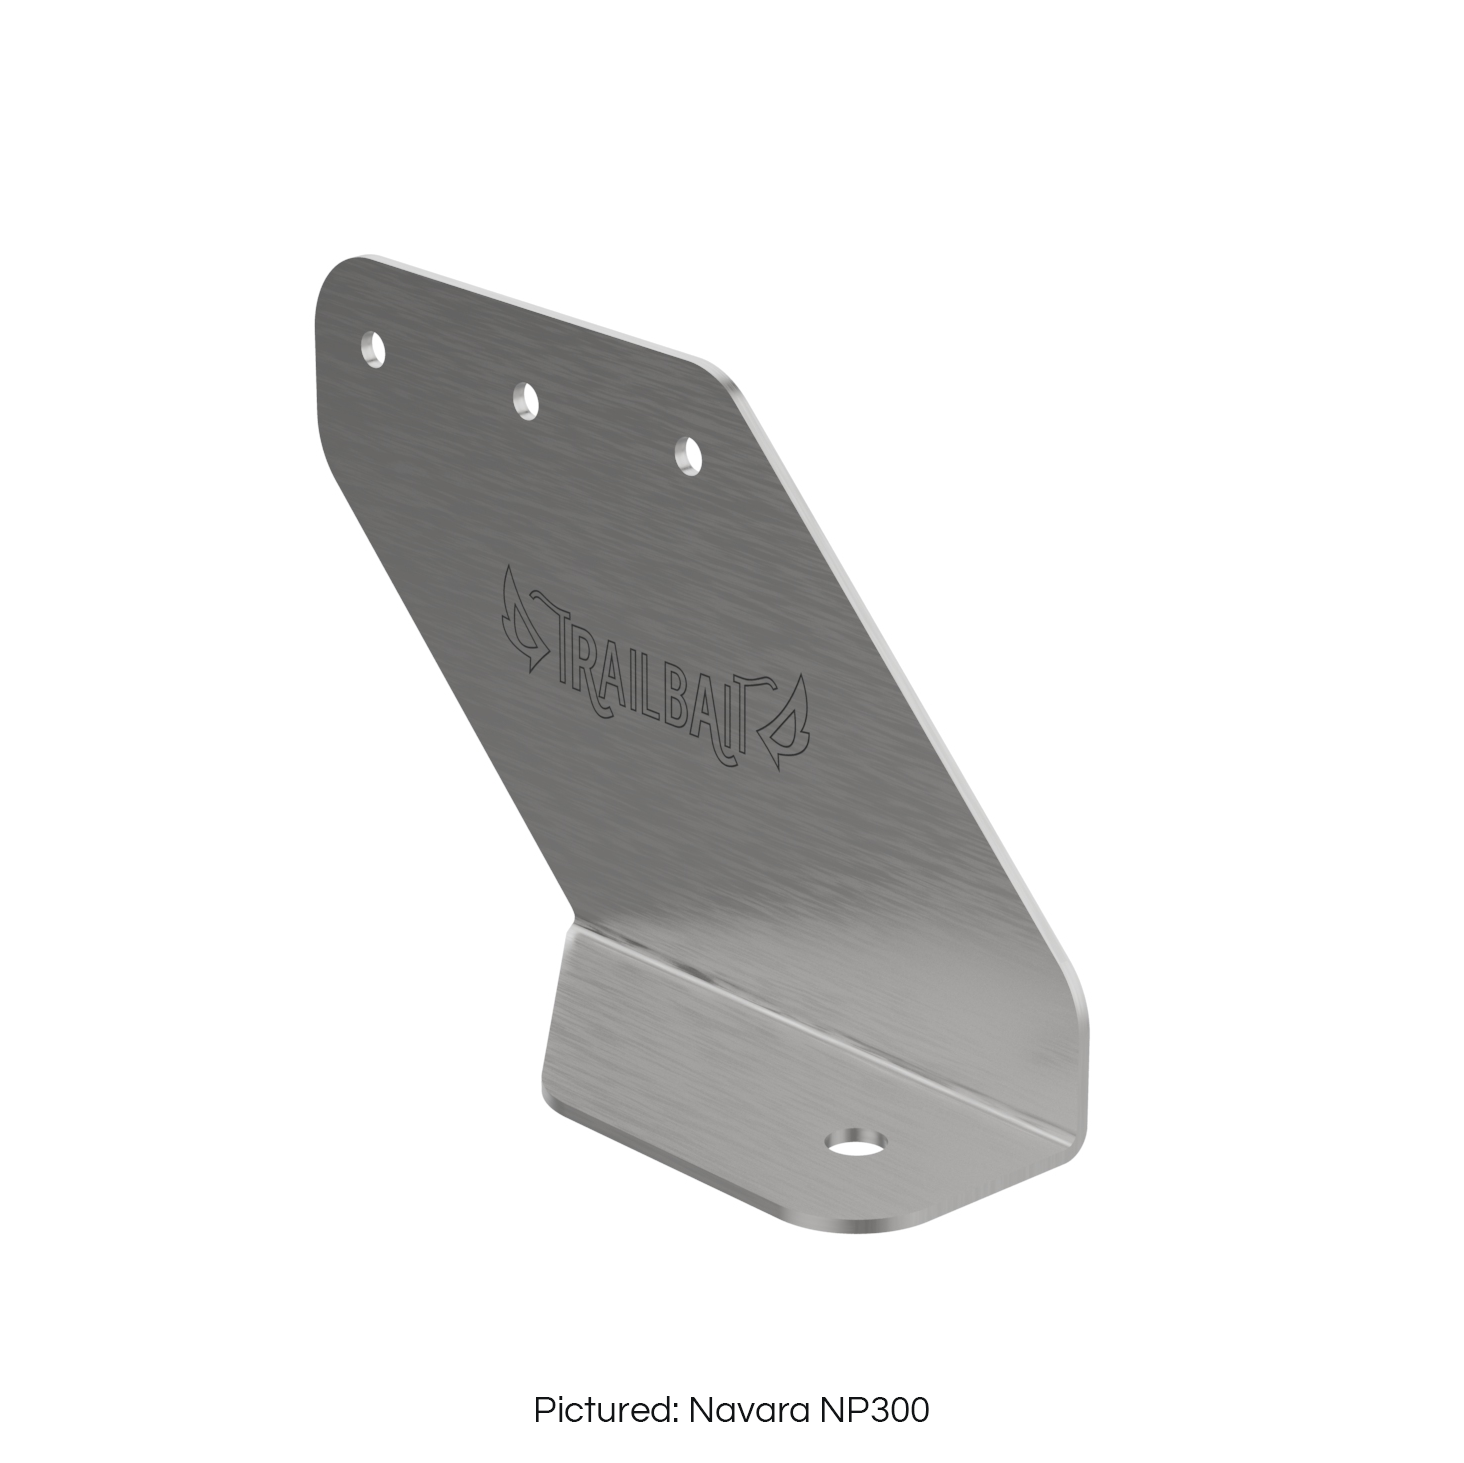
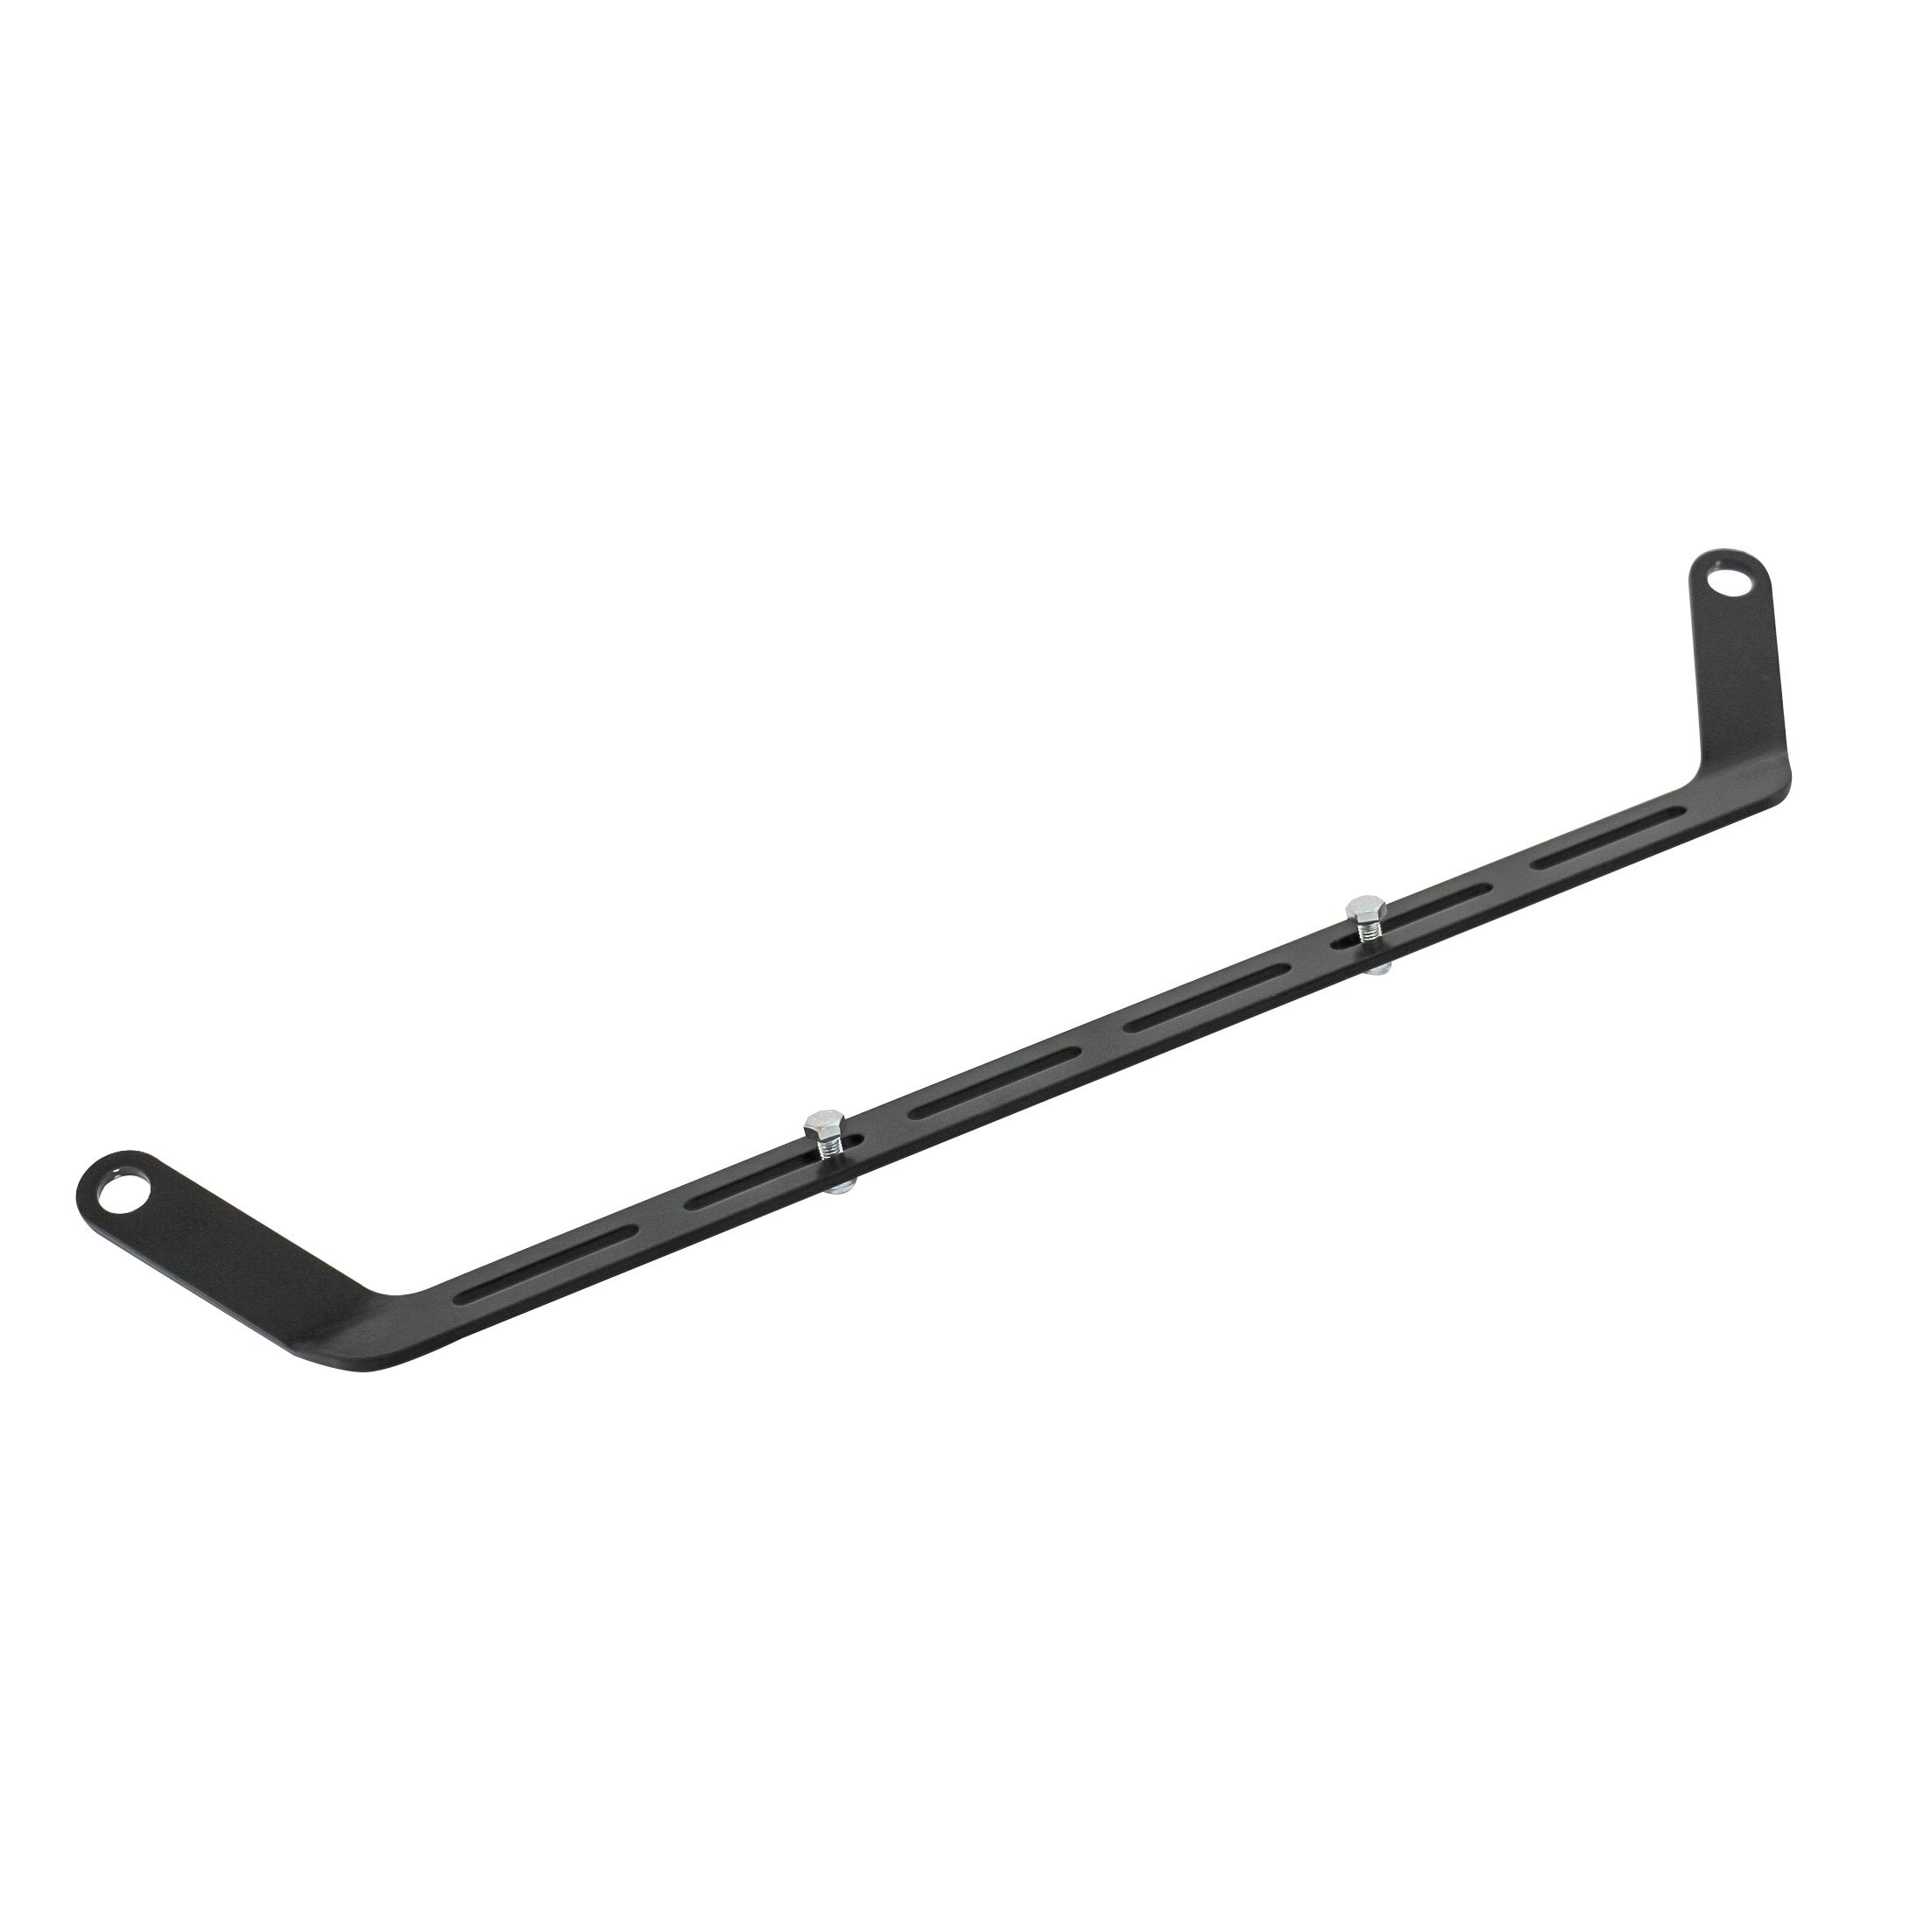
TrailBait’s brackets fit like a glove—designed specifically for your vehicle. No vibrations or annoying rattles to worry about. Just line up the supplied brackets with the factory mounting points then use the bolts provided in the light bar kit to tightly fasten the brackets. Make sure everything is aligned just right before fully tightening. Now your Behind-The-Grille Light Bar is ready to be installed.

STEP 4: MOUNT THE LIGHT BAR
TrailBait’s light bars fit perfectly behind the grille, staying hidden until you need them. Position the light bar into the brackets, ensuring it's aligned with your grille openings. Use the bolts provided in the kit to secure it tightly into place, making sure it’s centred and aligned before fully tightening the bolts.
STEP 5: CONNECT THE WIRING
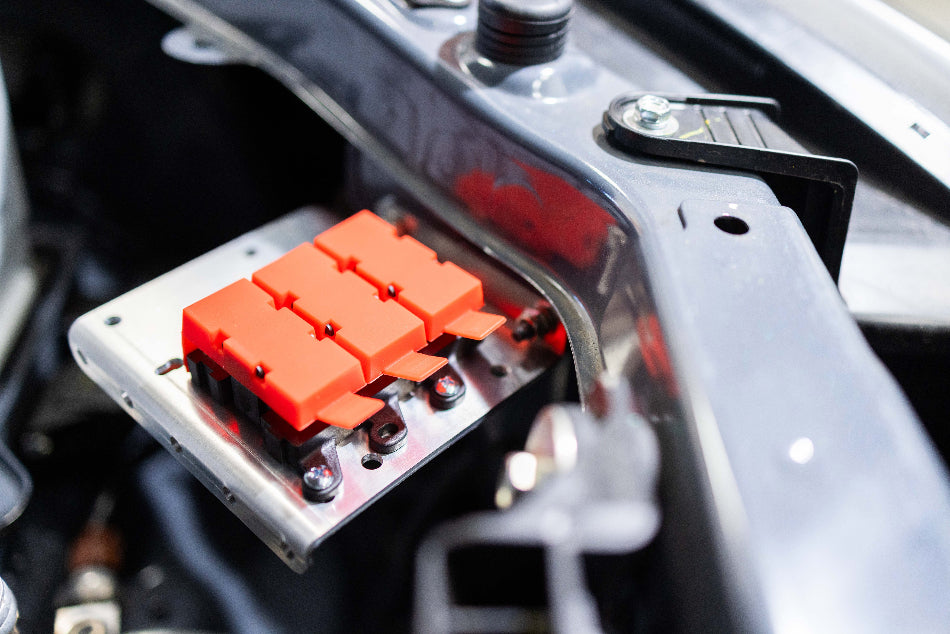
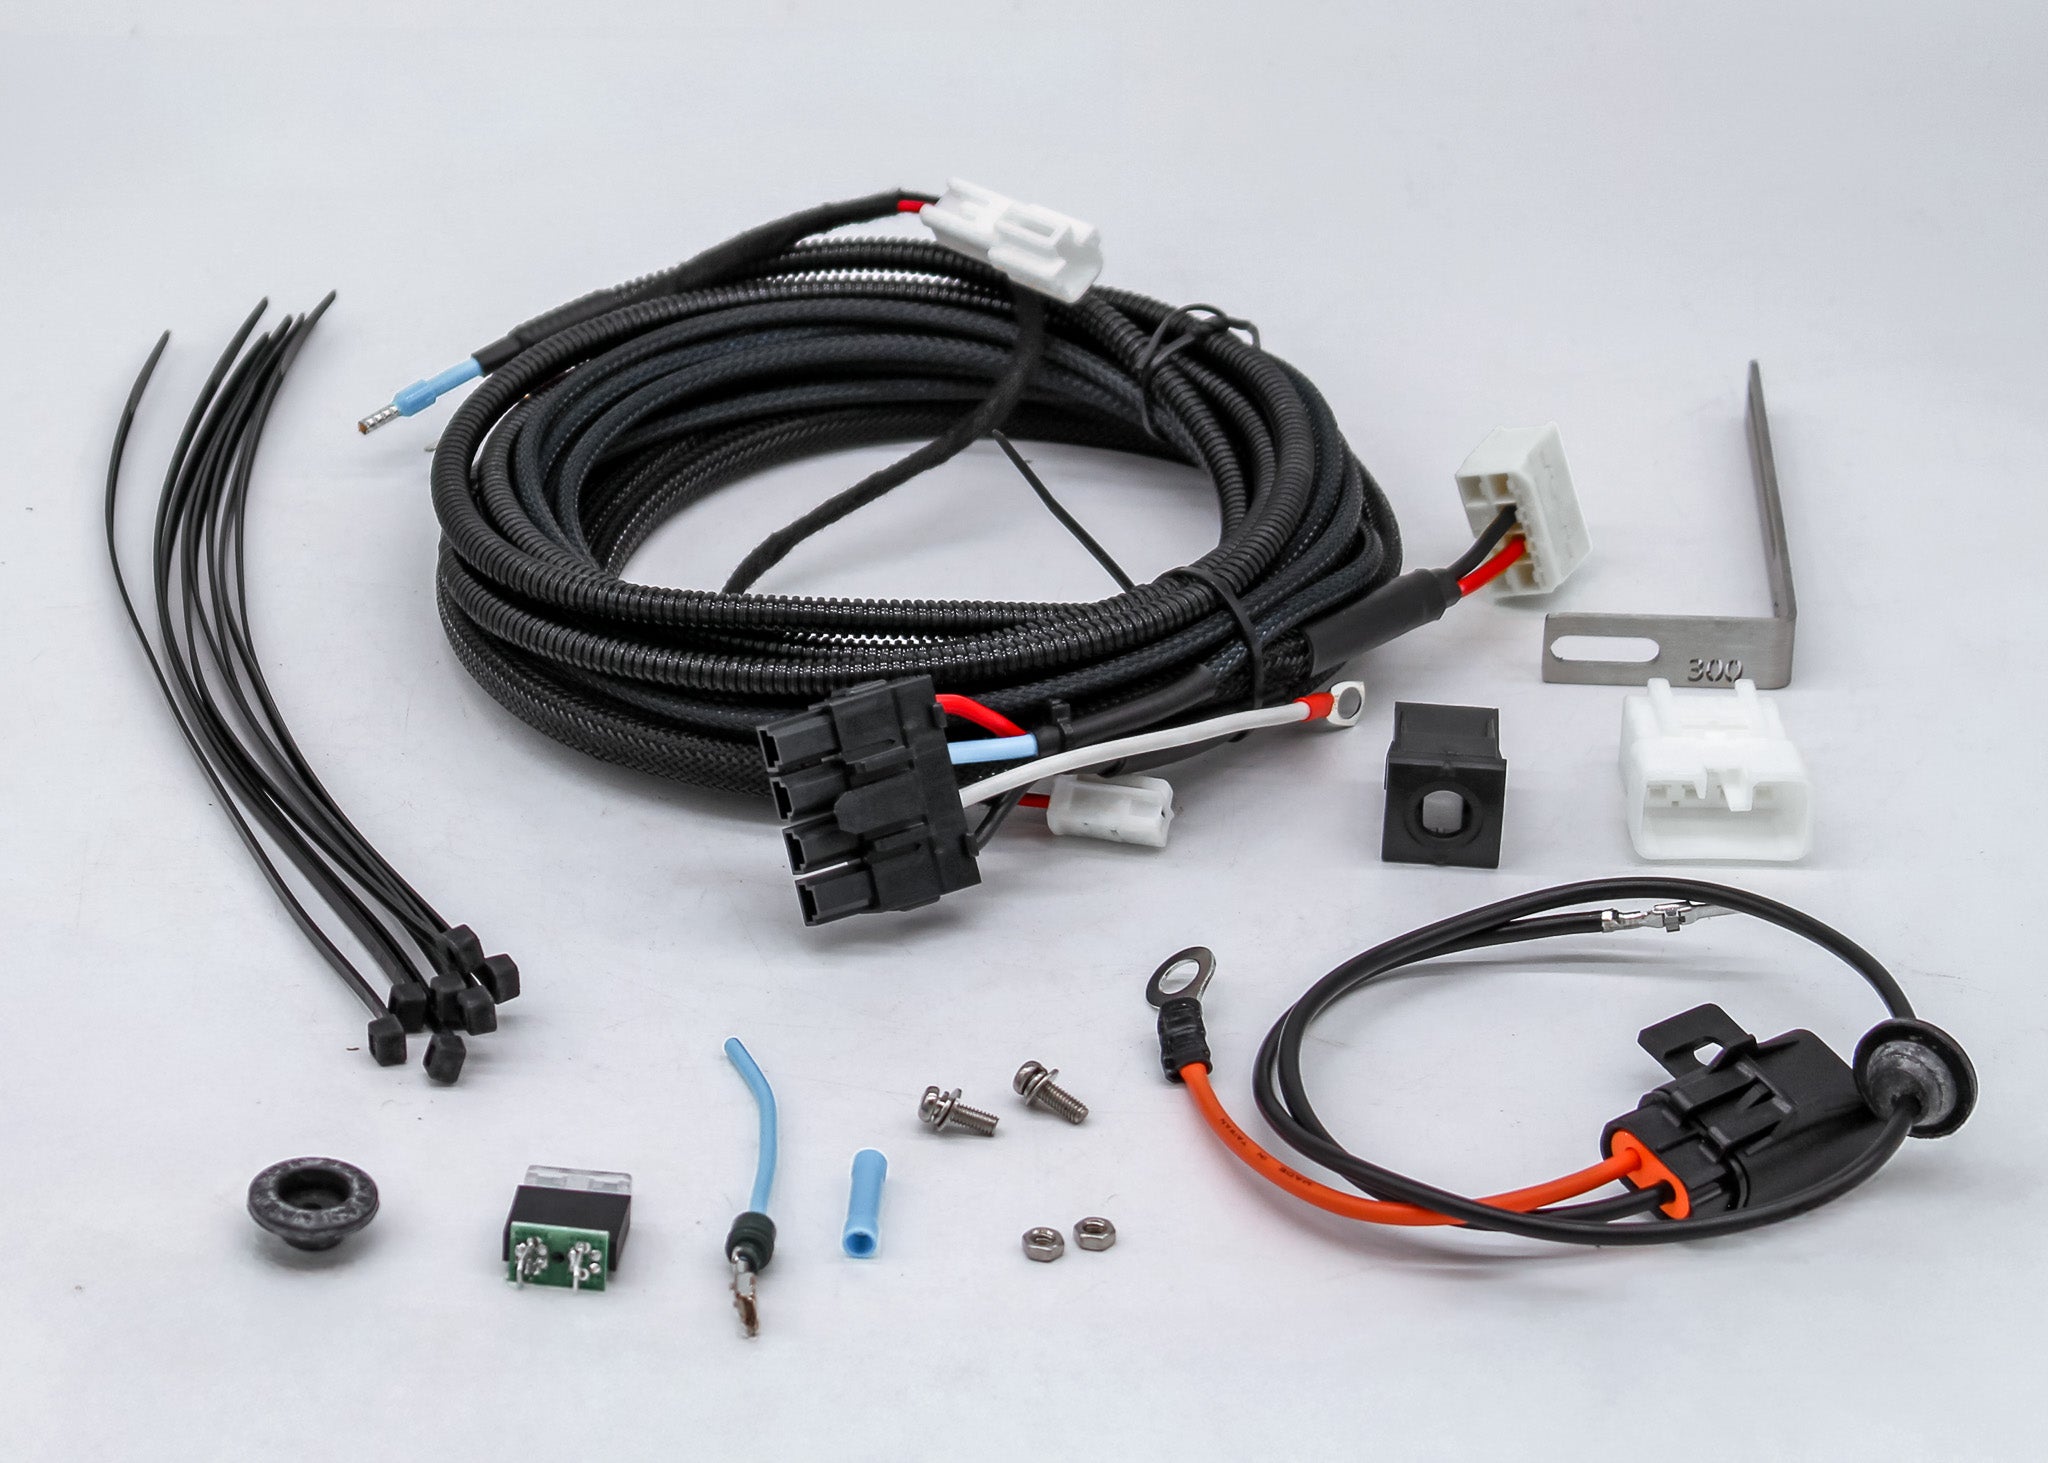
TrailBait’s wiring harness is plug-and-play, making this step a breeze. Just connect the harness to the Behind-The-Grille Light Bar and route the wiring through the engine bay, keeping it clear of hot or moving parts. Attach the harness to your battery or fuse box (depending on your model), making sure you follow the instructions specific to your vehicle for grounding and fuse protection.
STEP 6: CLIP THE GRILLE BACK ON
Once the light bar is in and wired up, it’s time to pop the grille back on. Voilà—your light bar is now hidden behind the grille, waiting for your next adventure.
STEP 7: LIGHT IT UP!
Now for the big reveal. Switch on the lights and check out the glow! You’ve got a sweet Behind-The-Grille Light Bar setup that keeps your vehicle looking slick and ready for any off-road action.
WHY TRAILBAIT?
TrailBait’s Behind-The-Grille Light Bars are all about style and performance. They look awesome and perform even better. Plus, they’ve got you covered with smart engineering so your lights stay cool and steady while you’re out hitting the trails.
Get ready for your next driving adventure.
